Mark III IronMan Helmet
(EN)
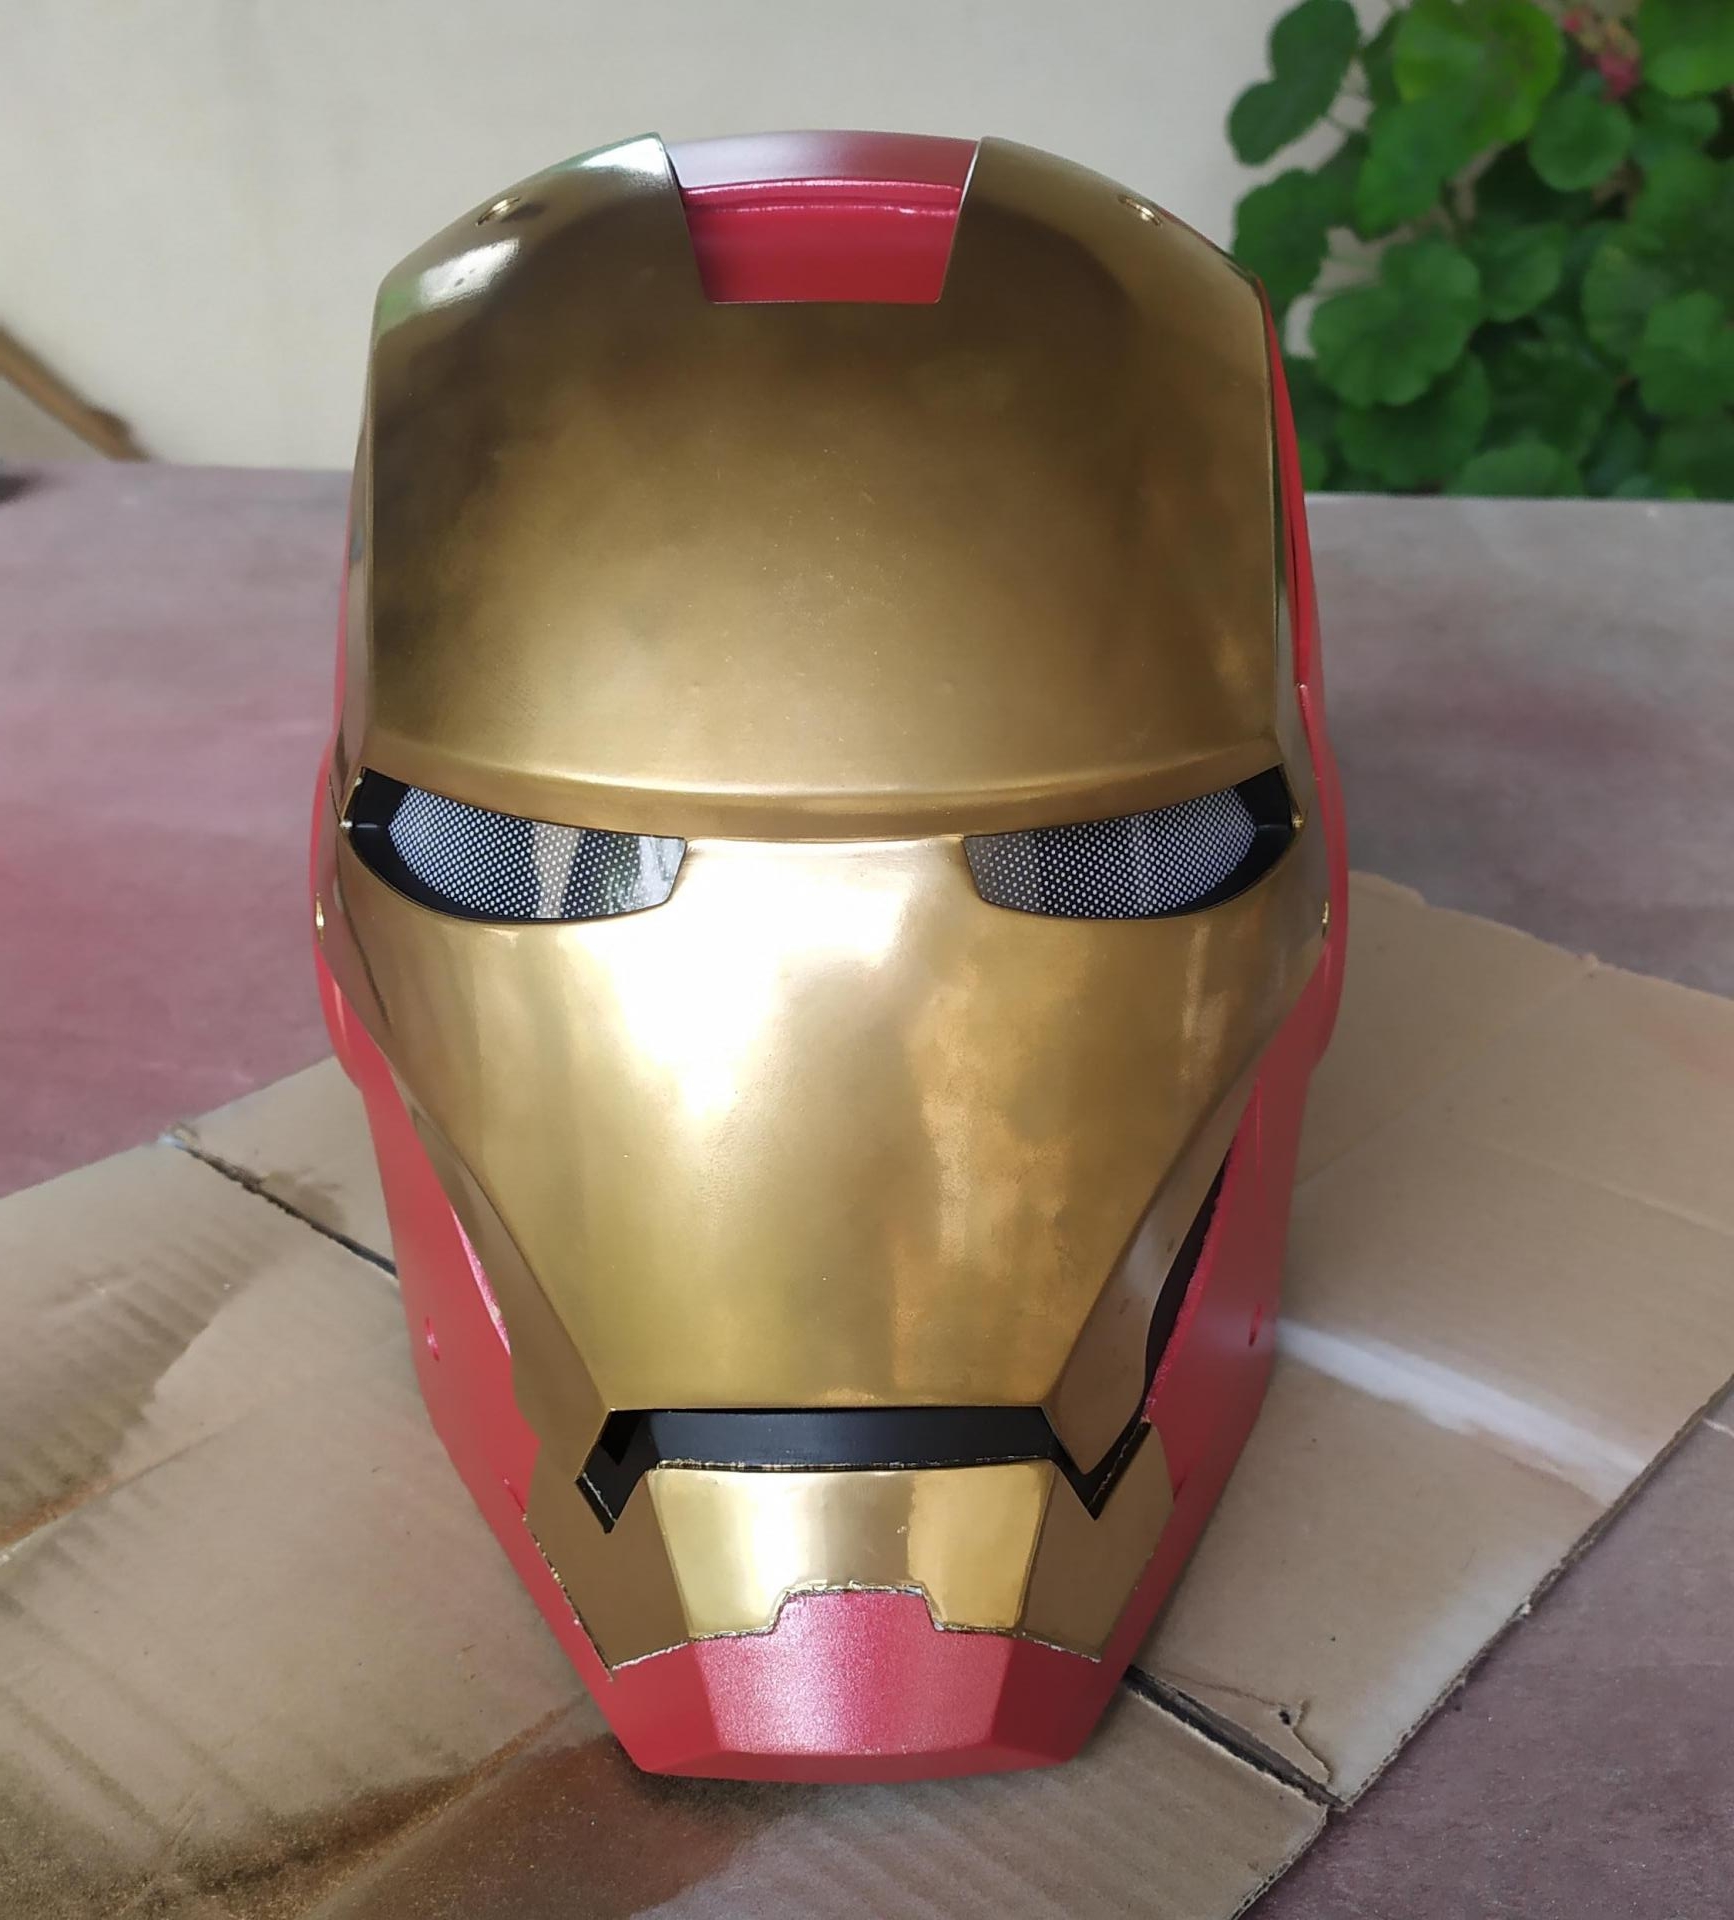
I'm a fan of Marvel movies, and more particularly of Tony Stark. He is a very charismatic character, with a lot of humor, who designed and manufactured with the help of his AI Jarvis, his famous Iron Man armor. This marvel of technologies allows him to survive from lethal attacks many times !
It's the first time I've done this kind of project that was close to my heart, and it's also my biggest project so far. I learned a lot, especially from some mistakes that will allow me to improve in future similar projects.
(FR)
Je suis fan des films Marvel, et plus particulièrement de Tony Stark. Il s'agit d'un personnage très charismatique, avec beaucoup d'humour, qui a conçu et fabriqué à l'aide son IA Jarvis, sa fameuse armure Iron Man. Cette merveille de technologies lui permet de survivre de nombreuses fois à des attaques mortelles !
C'est la première fois que j'ai réalisé ce genre de projet qui me tenait à coeur, et c'est également mon plus gros projet jusqu'à maintenant. J'ai beaucoup appris, notamment de certaines erreurs qui me permettront de m'améliorer dans de futurs projets semblables à celui ci.
Nomenclature / Nomenclature
(EN)
- 1 Arduino Nano Every (or Arduino Nano)
- 2 ES08MA II servomotors
- 3D Filament (PLA or PLA+)
- 1 TTP223B touch sensor
- 1 Flexible light eyes kit (5V)
- Glue for plastic
- Electric wires
- 1 Helmet foam kit
- Some XH2.54 connectors (2 and 3 pins)
- Sandpaper (320, 400 and 600 grit)
- Spray putty (Spray-Putty Motip beige)
- White spray primer
- Spray paint Nespoli (matte black, red metal effect and gold effect precious metals)
- Hexagon socket head screw kit (M2 to M8)
- Self-tapping screw kit (M1 to M1.7)
- Flat head screw kit (M2 to M3)
UPGRADE N°1 : - 1 Voice Recognition Module V3 (from Elechouse)
The total price is around 125€
(FR)
- 1 Arduino Nano Every (ou Arduino Nano)
- 2 Servomoteurs EX08MA II
- Filament 3D (PLA ou PLA+)
- 1 Capteur tactile TTP223B
- 1 Kit d'yeux lumineux flexibles (5V)
- Glue pour plastique
- Fils électriques
- 1 Kit mousses pour casque
- Quelques connecteurs XH2.54 (2 et 3 broches)
- Papier de verre (grain 320, 400 et 600)
- Mastic en spray (Spray-Putty Motip beige)
- Apprêt en spray blanc
- Peinture en spray Nespoli (noir mat, rouge effet métal et or effet métaux précieux)
- Kit vis hexagonale six pans creux (M2 à M8)
- Kit vis autotaraudeuse (M1 à M1,7)
- Kit vis tête plate (M2 à M3)
AMELIORATION N°1 : - 1 Module de Reconnaissance Vocale (de Elechouse)
Le prix total est d'environ 125€
3D printing / Impression 3D
(EN)
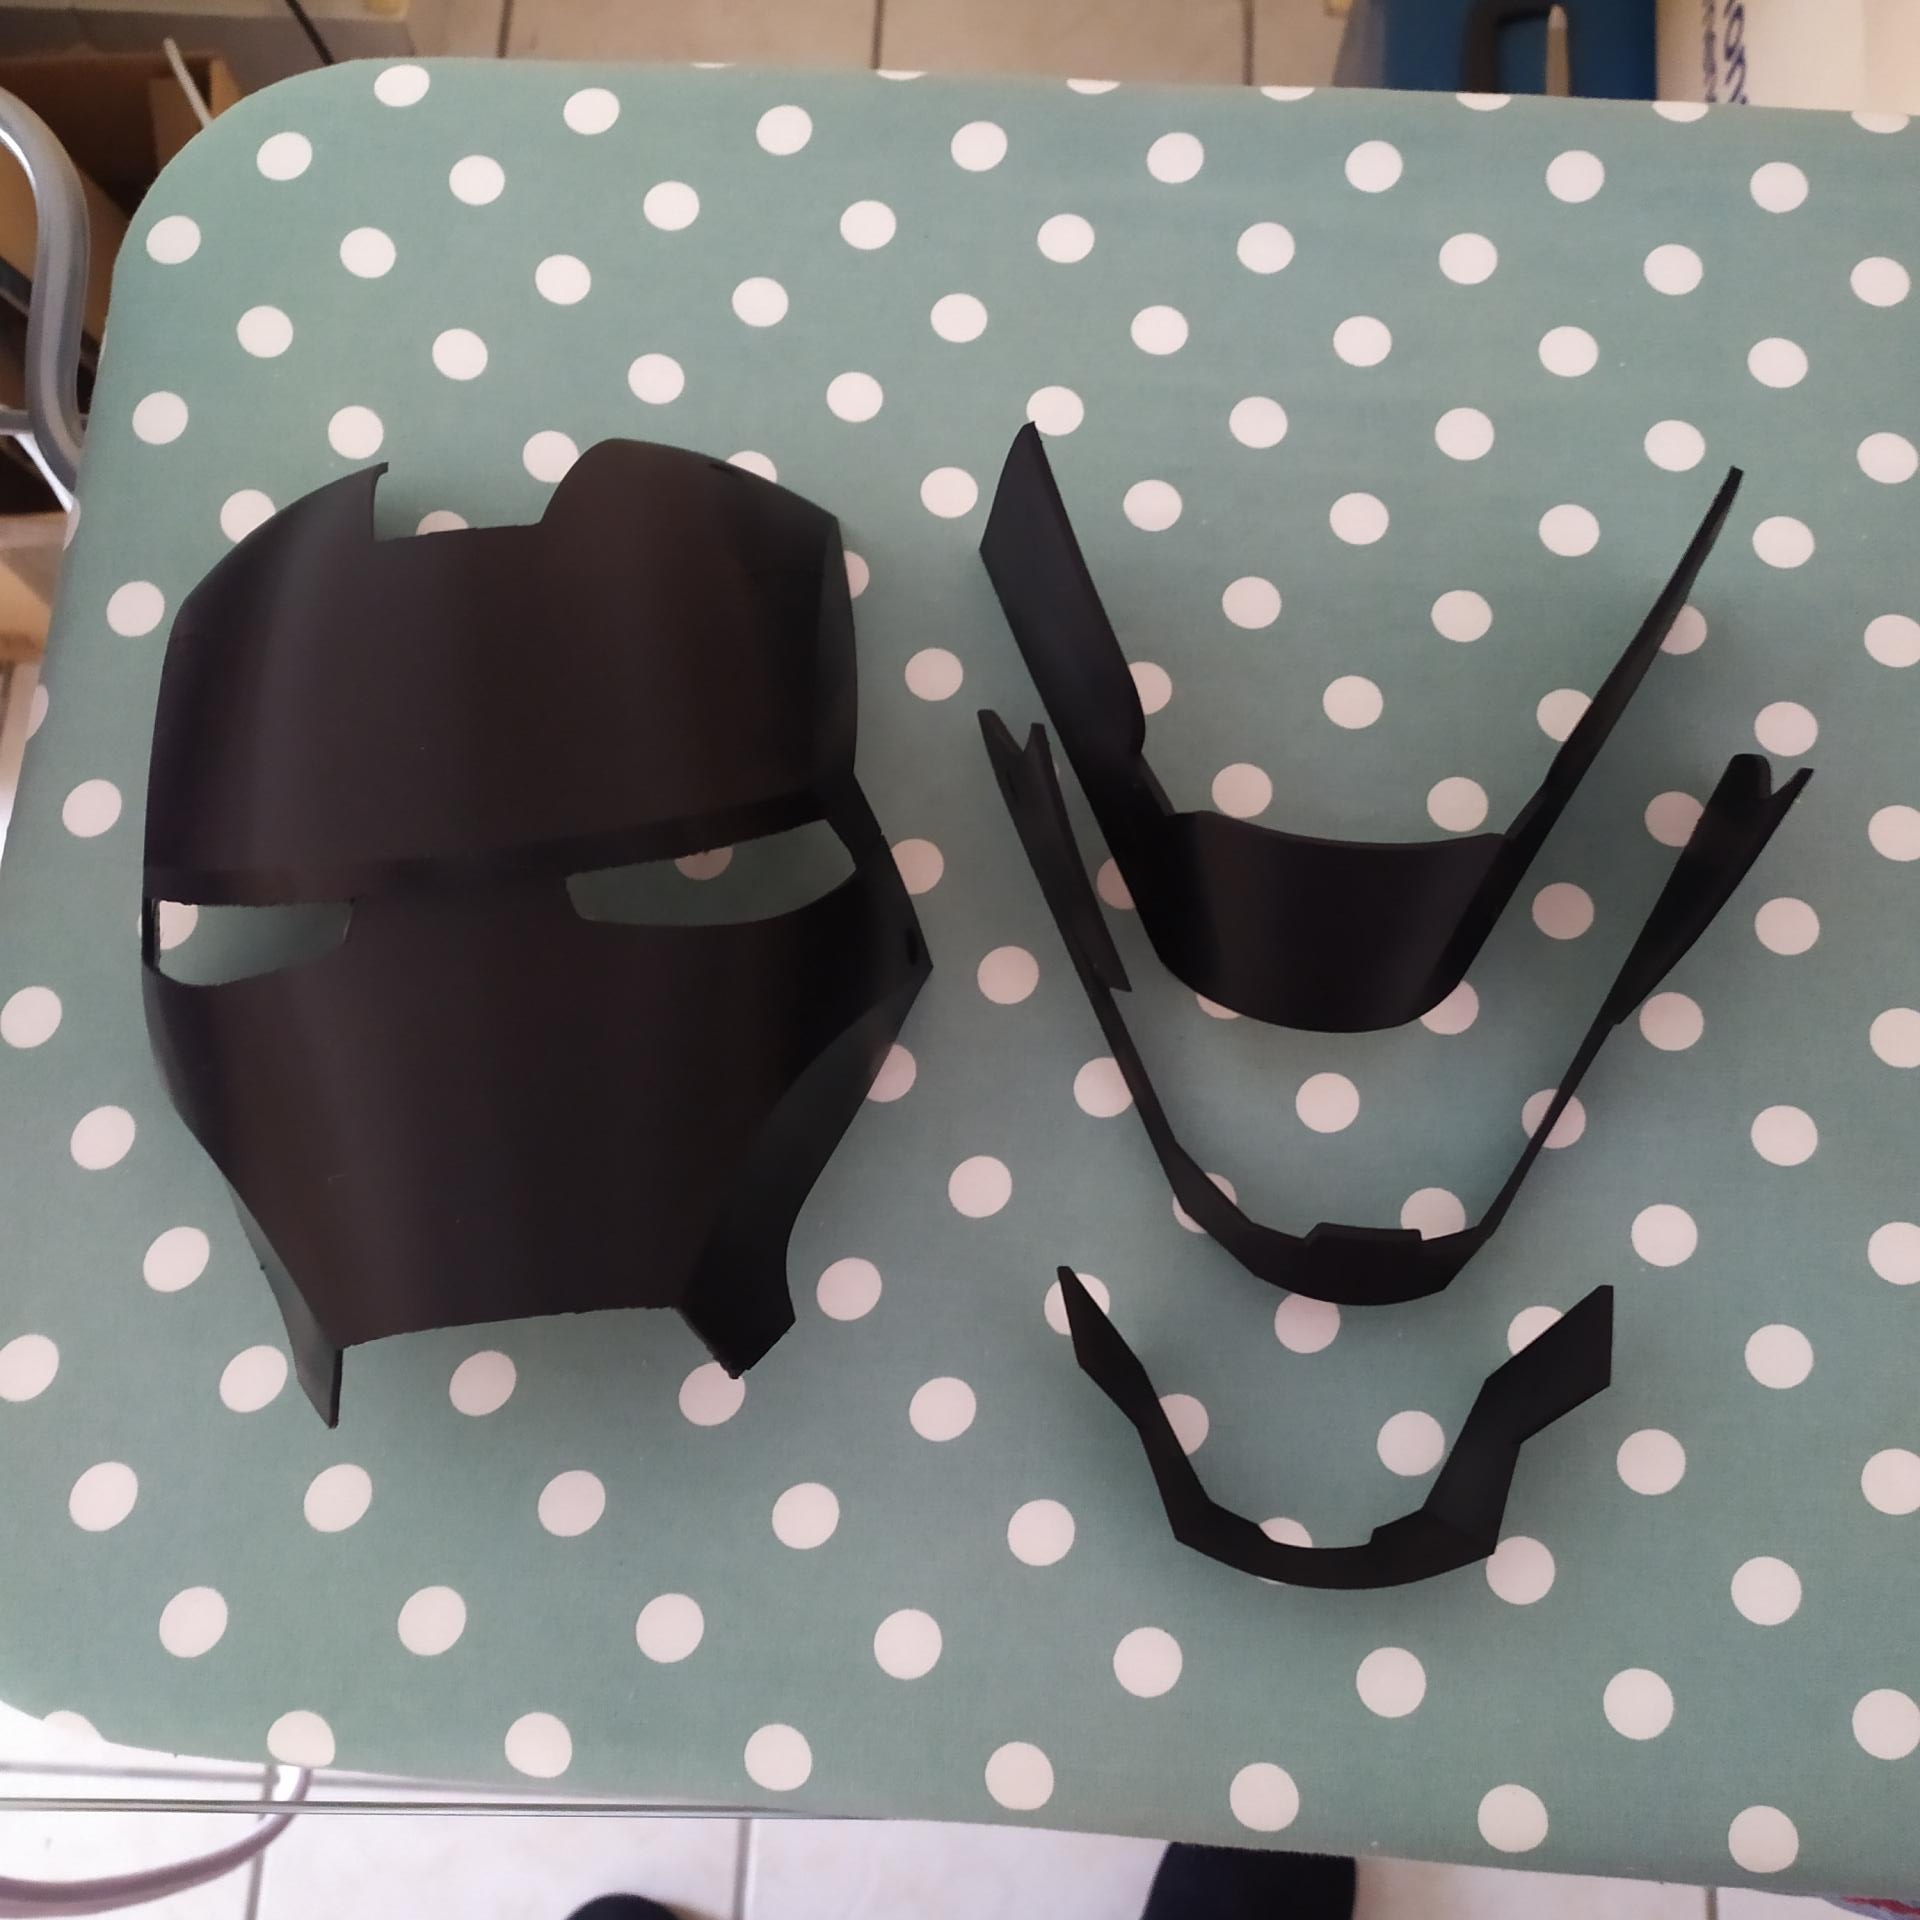
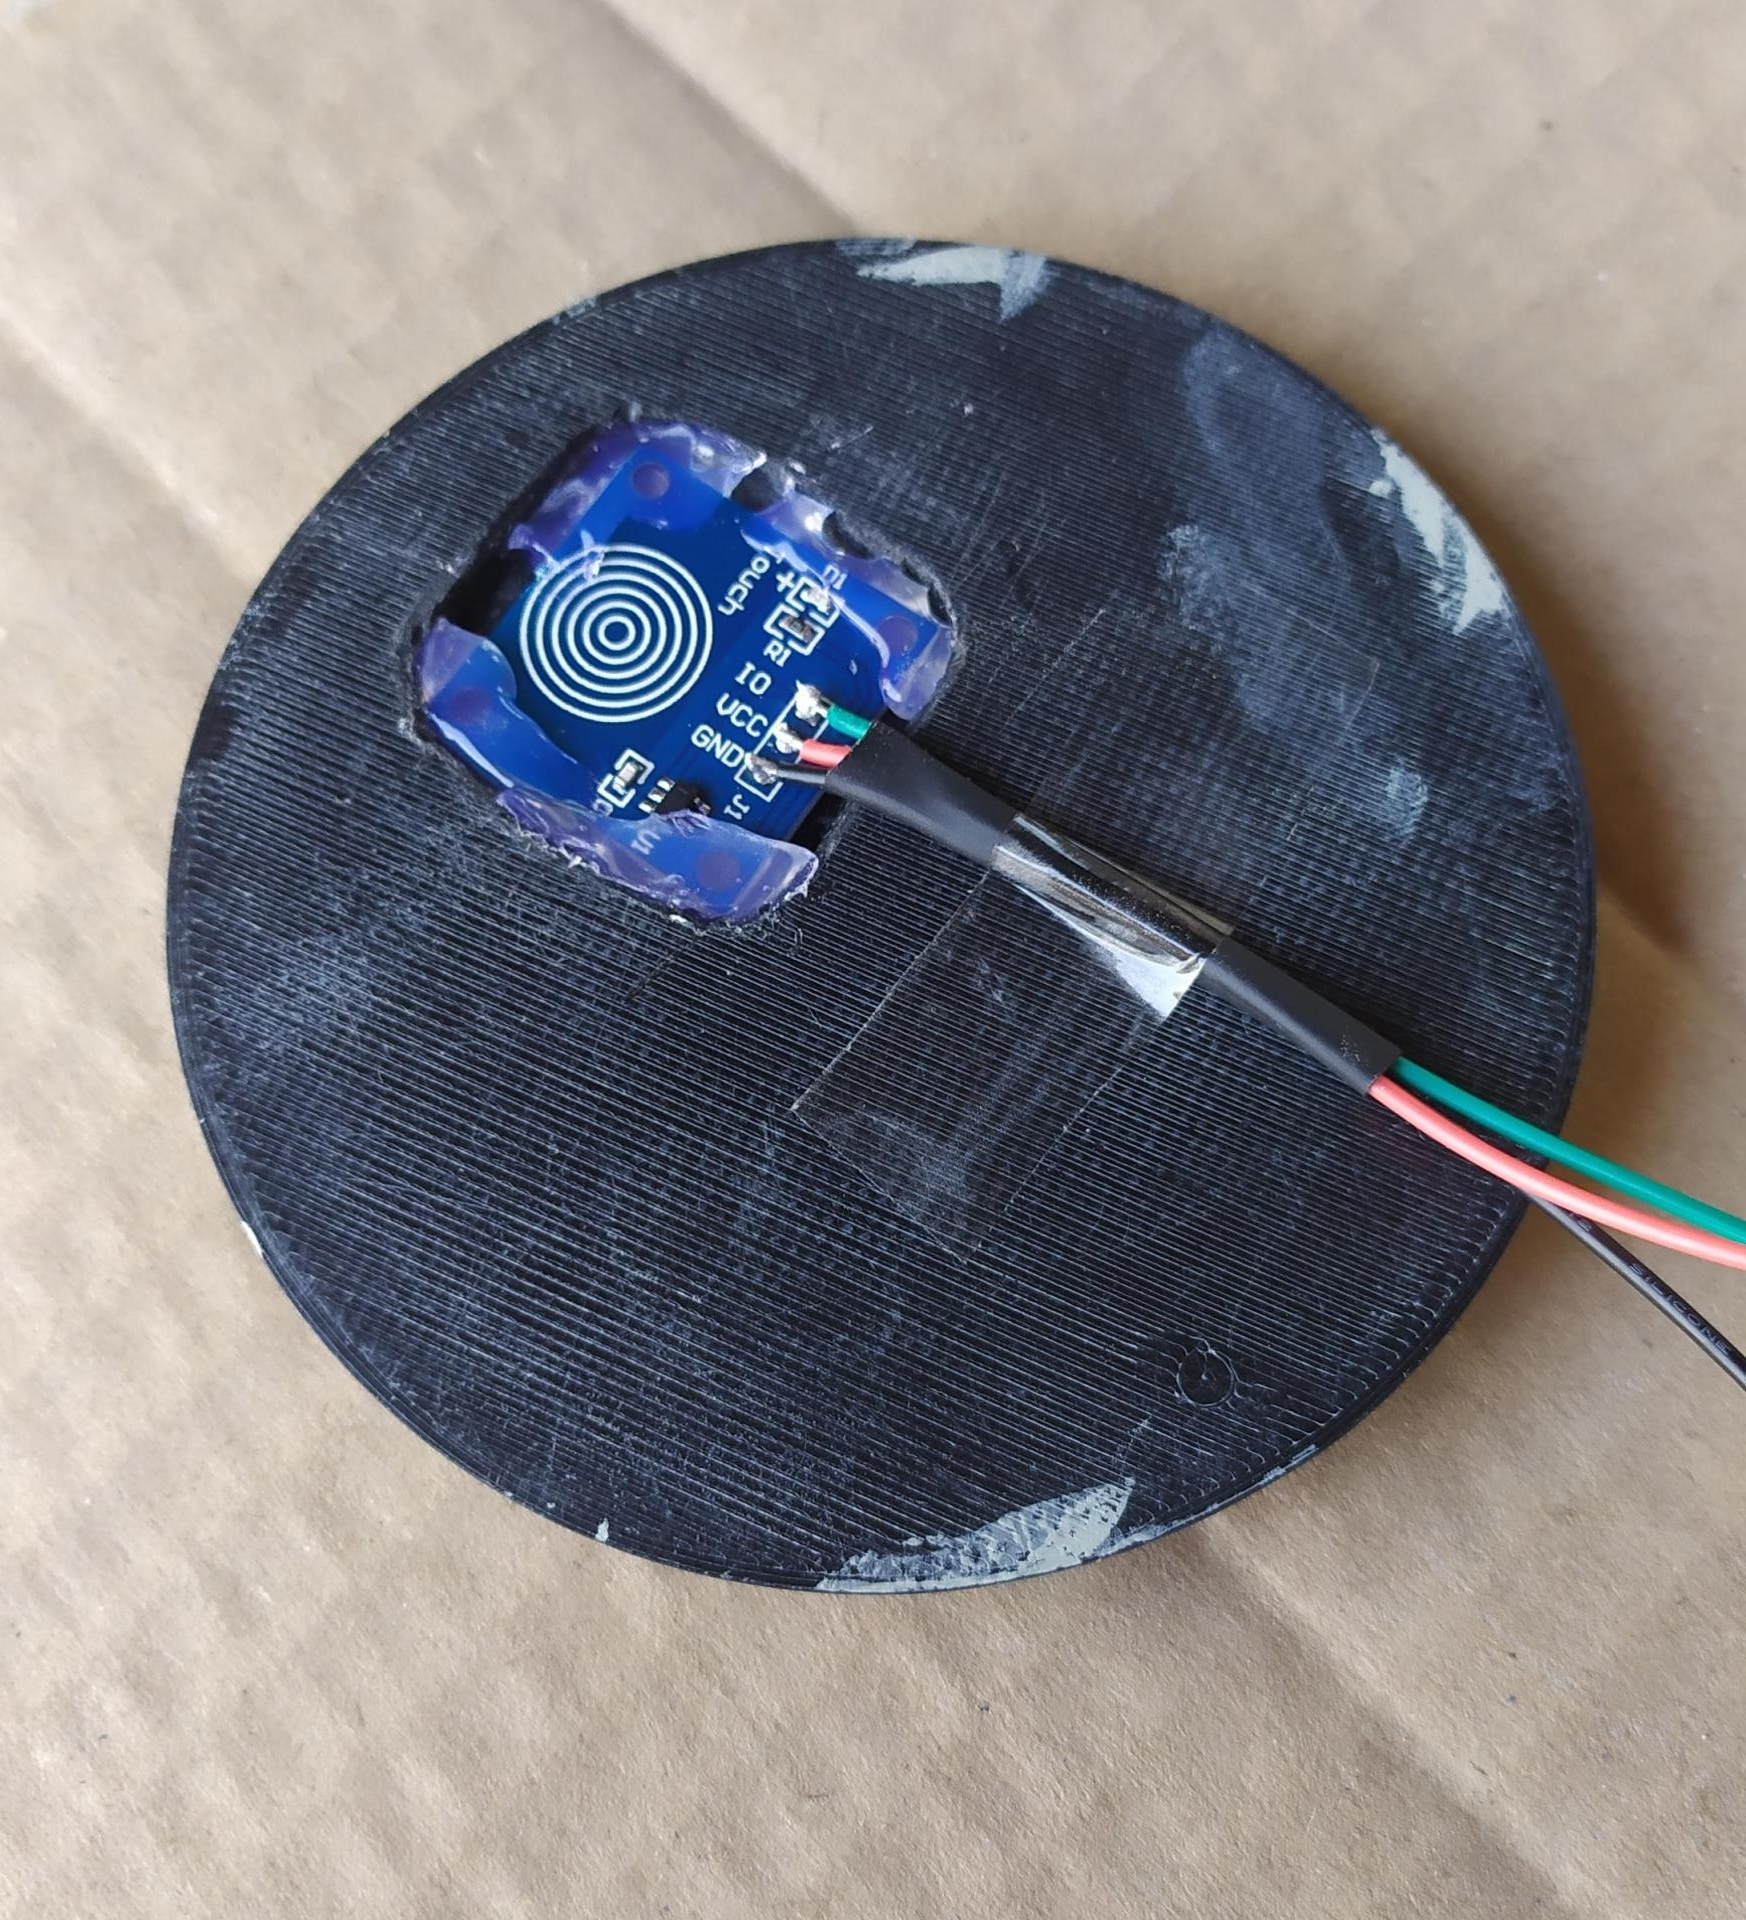
My skills in 3D modeling do not allow me to produce myself the 3D modeling of an organic object, like the helmet of IronMan. This is why I chose to recover an already existing model, which has the elements necessary for the motorized. However I modified the left ear file in order to add a touch sensor.
The quality of the 3D printing will affect the time required for post processing. That is, the better the quality of the print, the less post-processing time will be required. This is why I advise you to print in 0.1 or 0.2mm despite the printing time which can be long!
Link to Thingiverse (Collection) (Many thanks to Boxandloop for his work !)
(FR)
Mes compétences en modélisation 3D ne me permettent pas de produire moi même la modélisation 3D d'un objet organique, comme le casque de IronMan. C'est pourquoi j'ai choisi de récupérer un modèle déjà existant, qui possède les élements nécessaire pour le motorisé. Cependant j'ai modifié le fichier de l'oreille gauche afin de pourvoir y placer un capteur tactile.
La qualité de l'impression 3D va se répercuter sur le temps nécessaire au post traitement. C'est à dire que, plus l'impression est de bonne qualité, moins de temps de post traitement sera nécessaire. C'est pour cela que je vous conseille d'imprimer en 0.1 ou 0.2mm malgré le temps d'impression qui peut s'avérer long !
Lien vers Thingiverse (Collection) (Merci infiniment à Boxandloop pour son travail !)
Post treatment / Post traitement
(EN)
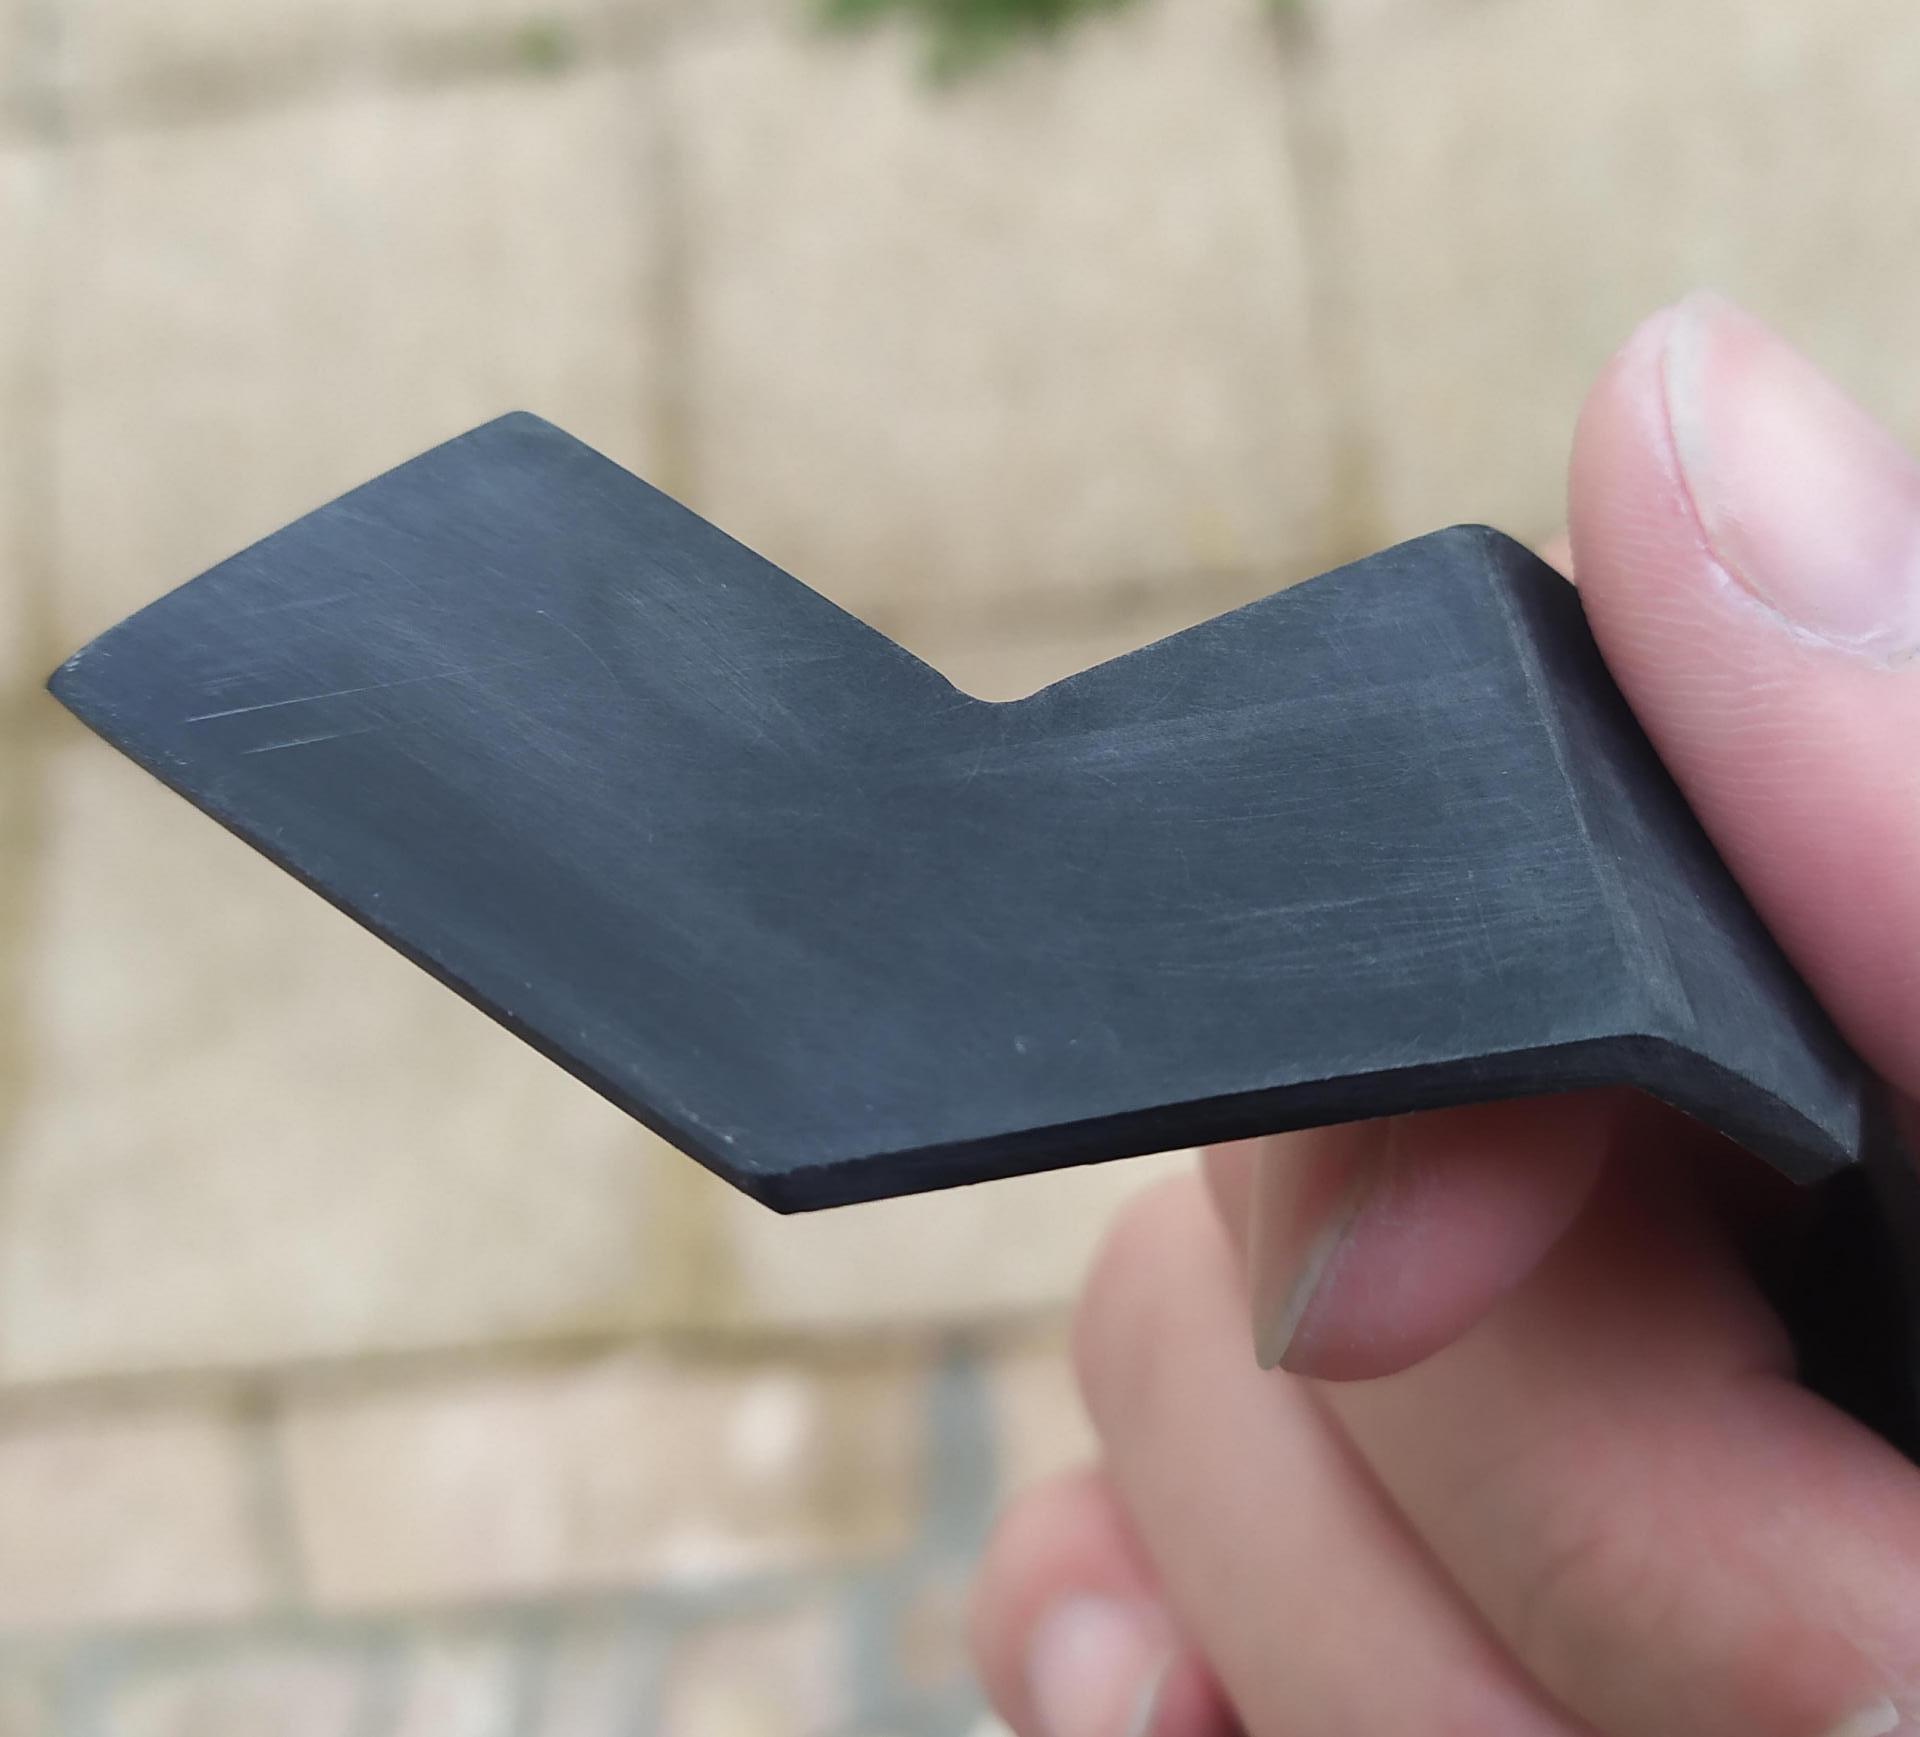
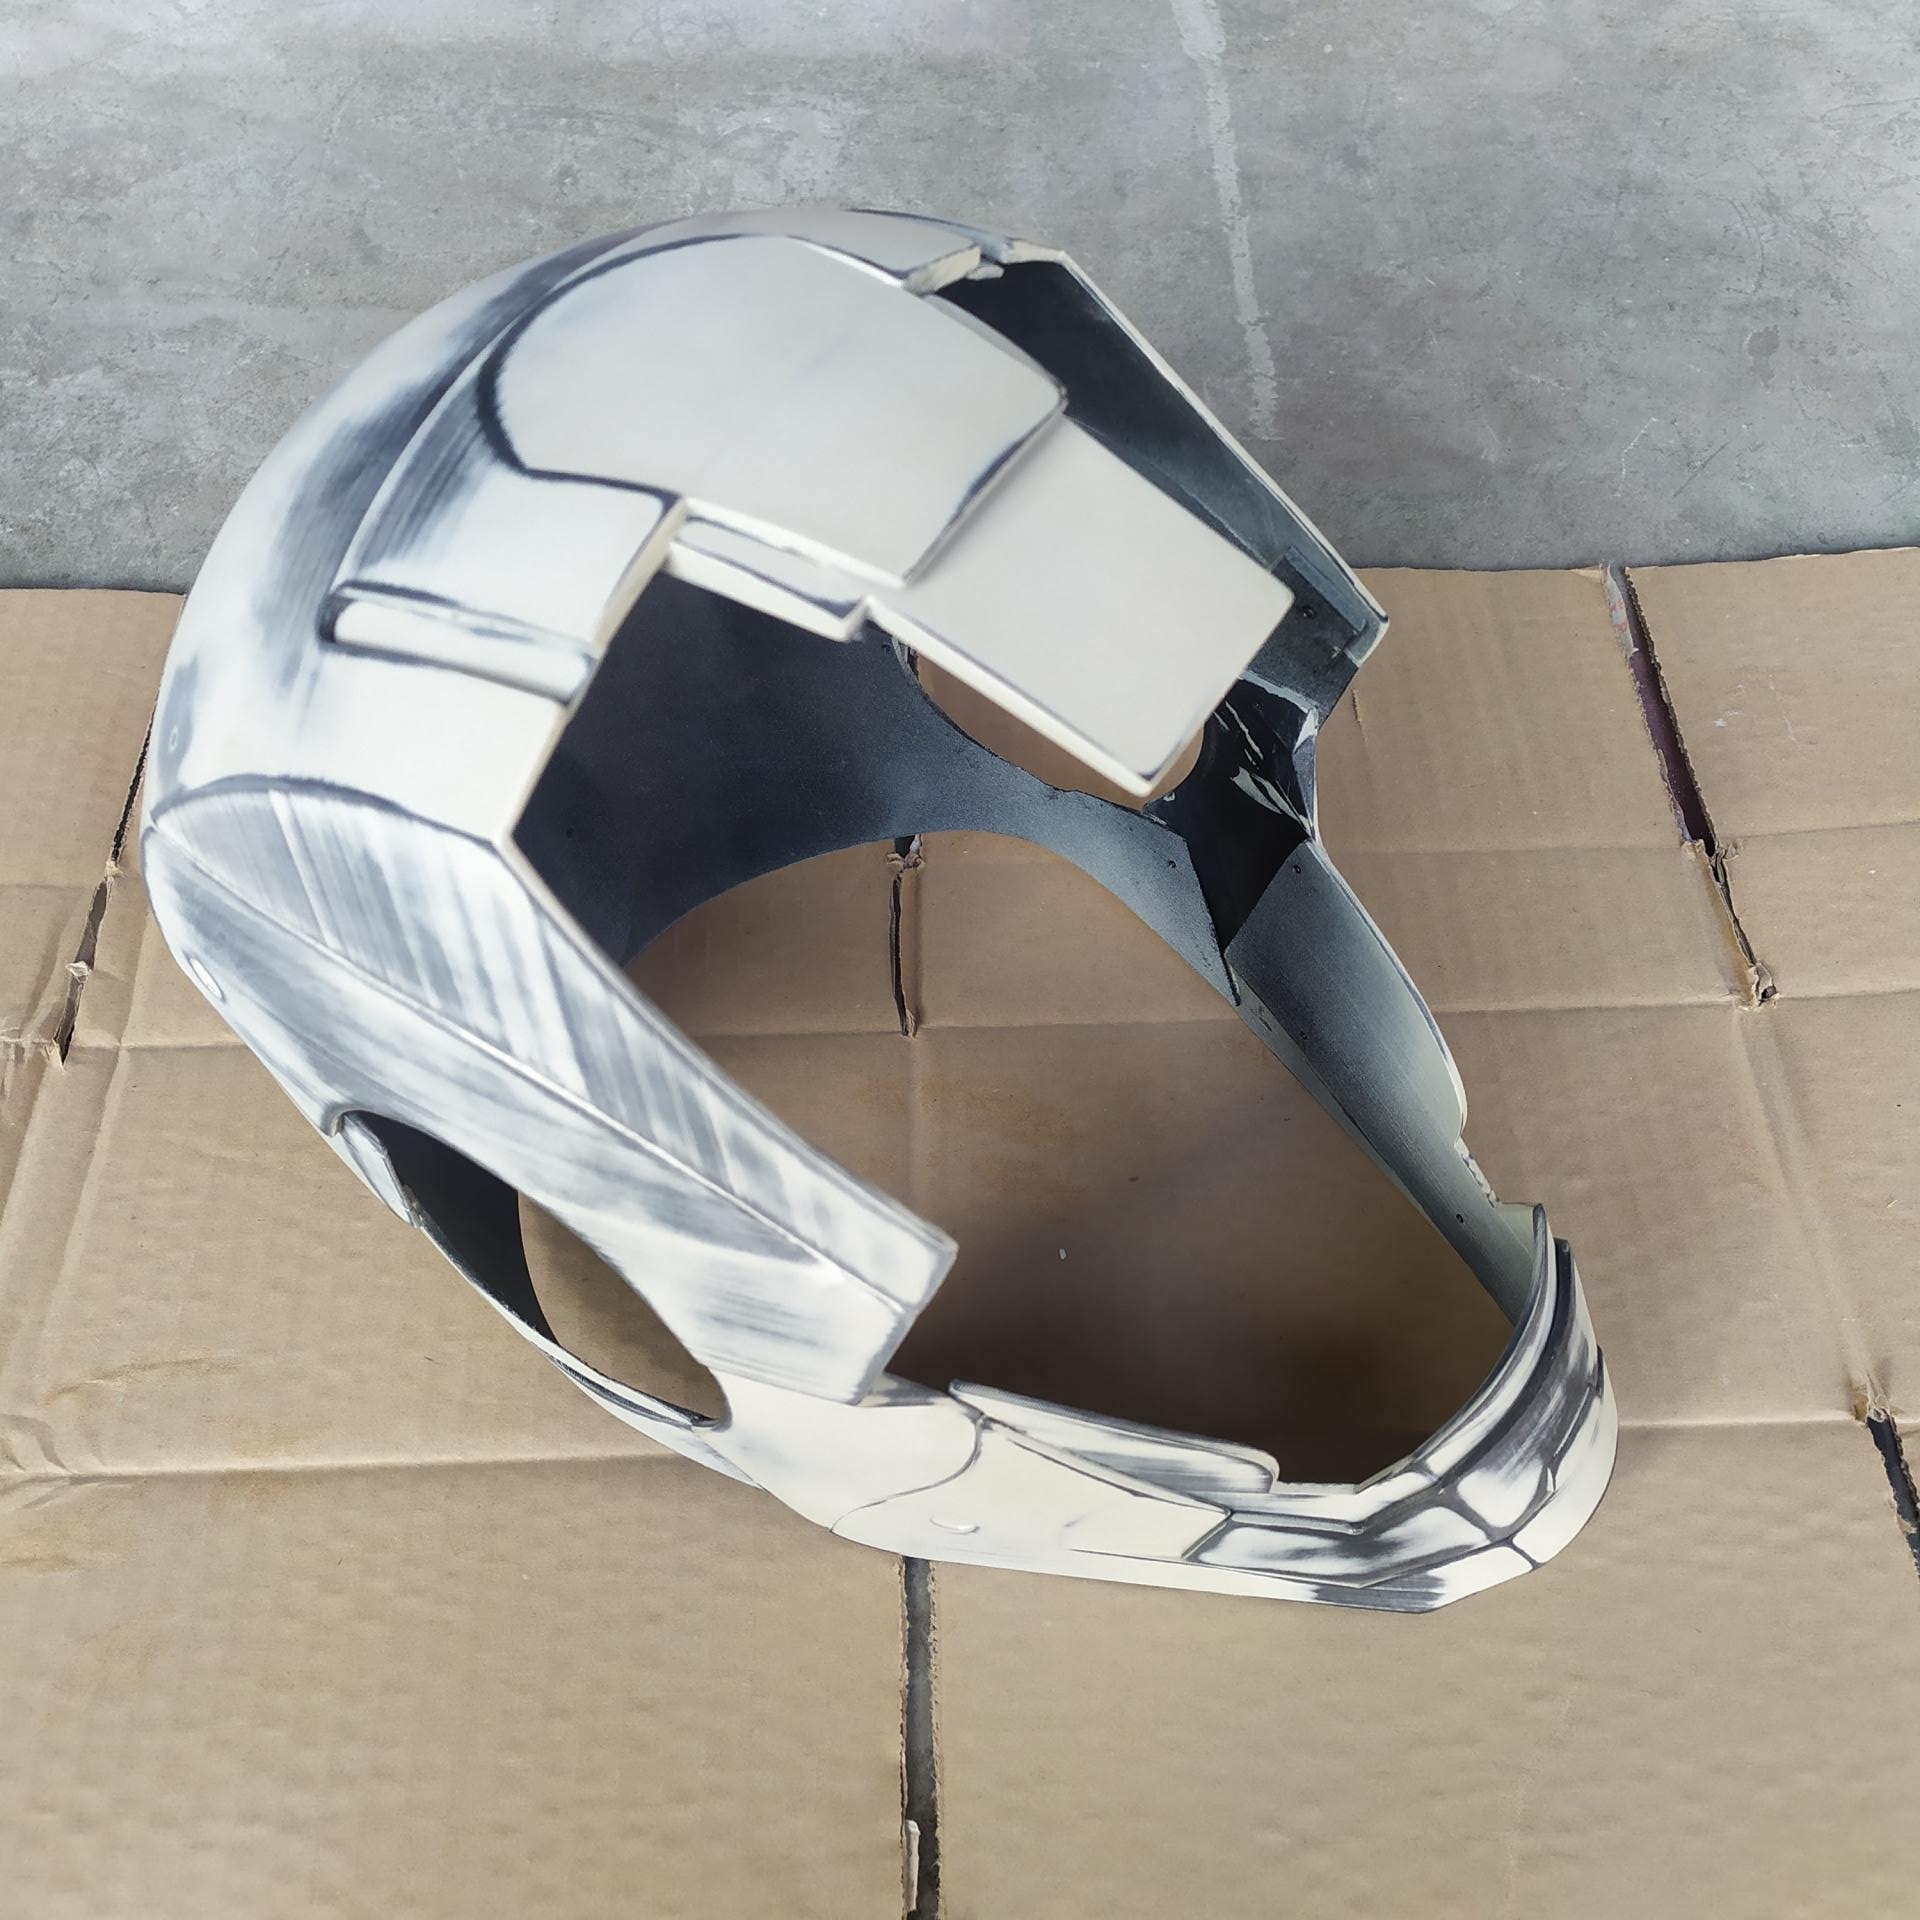
- At first, I had to sand each piece one by one, to make them smoother. For this, I started with 320 sandpaper (see less), then 400 and finally 600 for the finishes.
- Then I assembled the parts (assembly instructions are available on the 3D model download page) with special plastic glue and self-tapping screws as well as using clamps.
- In addition, I applied putty to fill the gaps between each part.
- And to finish, I applied all over the helmet, aerosol putty (Putty spray) and I sanded again to fill the potential holes remaining after the first sanding step.
It may be necessary to do step 4 several times (spray putty then sanding) in order to have a super clean finish !
(FR)
- Dans un premier temps, il m'a fallu poncer chaque pièce une à une, afin de les rendre plus lisses. Pour cela, j'ai débuté avec du papier de verre 320 (voir moins), puis du 400 et enfin du 600 pour les finitions.
- Puis j'ai assemblé les pièces (les instructions d'assemblage sont accessibles sur la page de téléchargement du modèle 3D) avec de la colle spéciale plastique et des vis autotaraudeuse ainsi qu'à l'aide de pinces de serrage.
- De plus, j'ai appliqué du mastic afin de combler les interstices présents entre chaque partie.
- Et pour finir, j'ai appliqué sur tout le casque, du mastic en aérosol (spray Putty) et j'ai reponçé pour combler les potentiels trous restants après la première étape de ponçage.
Il peut être nécessaire de faire plusieurs fois l'étape 4 (mastic en aérosol puis ponçage) afin d'avoir un rendu super propre !
Painting / Peinture
(EN)
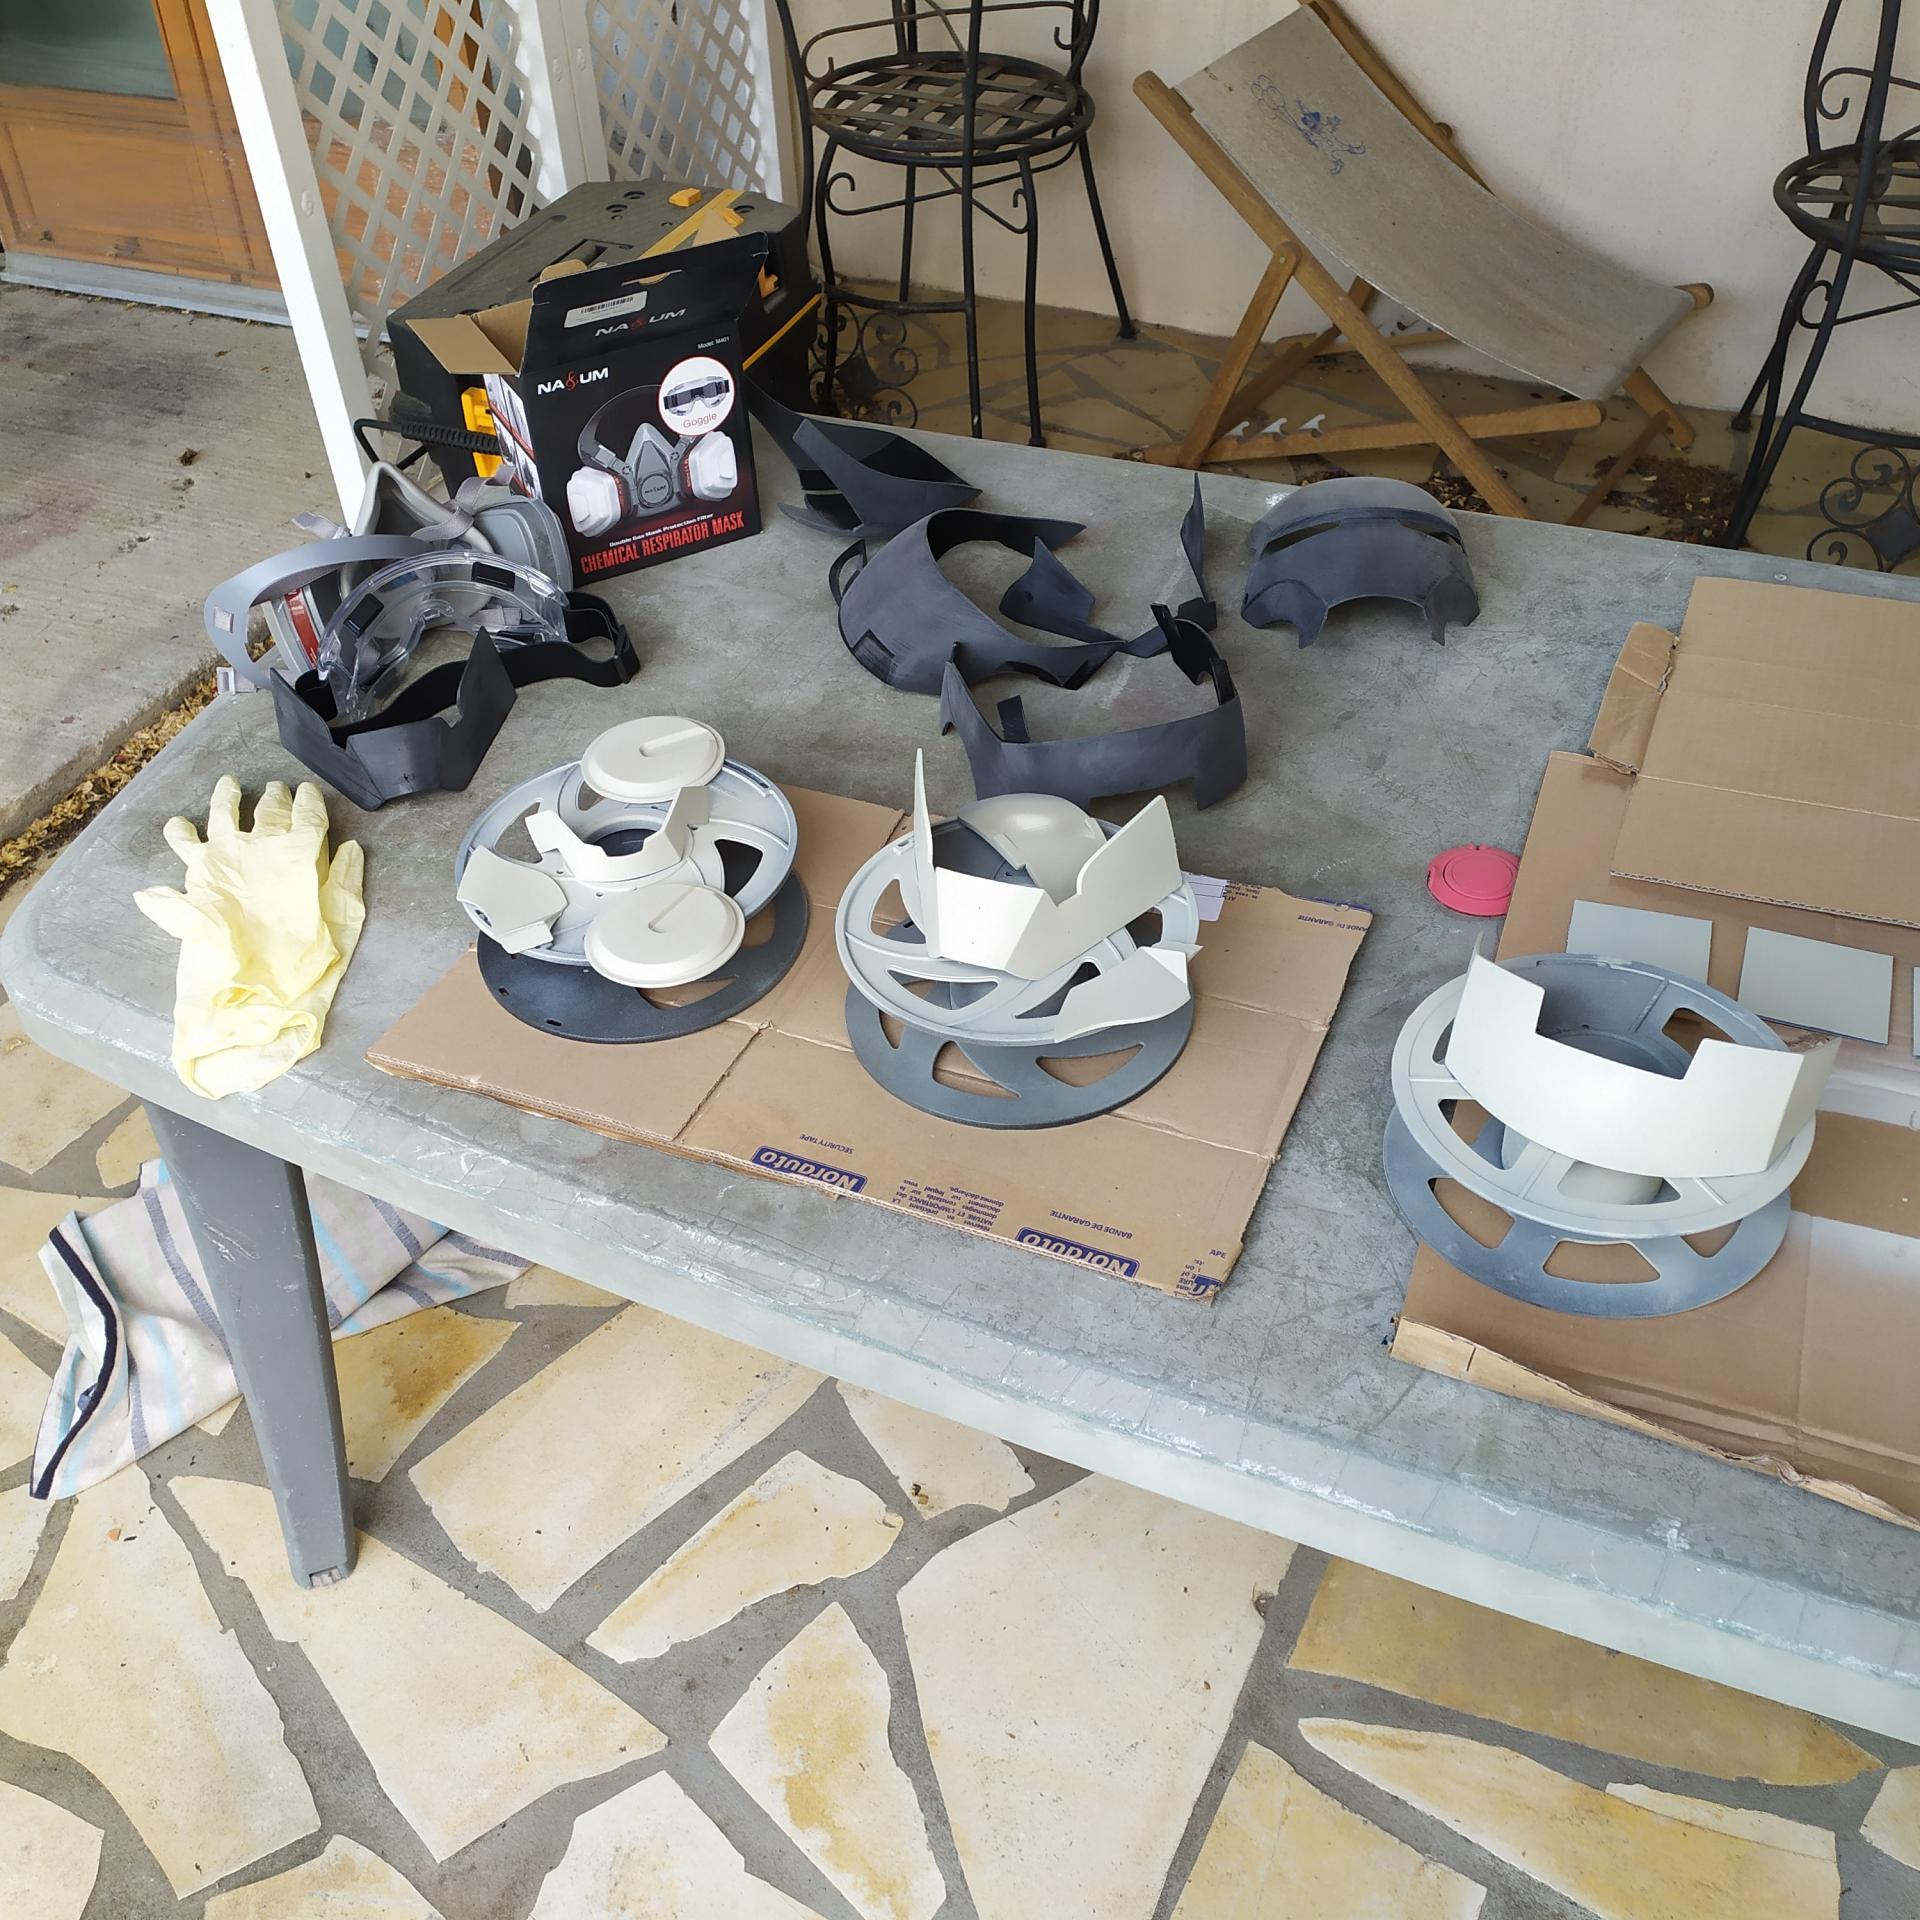
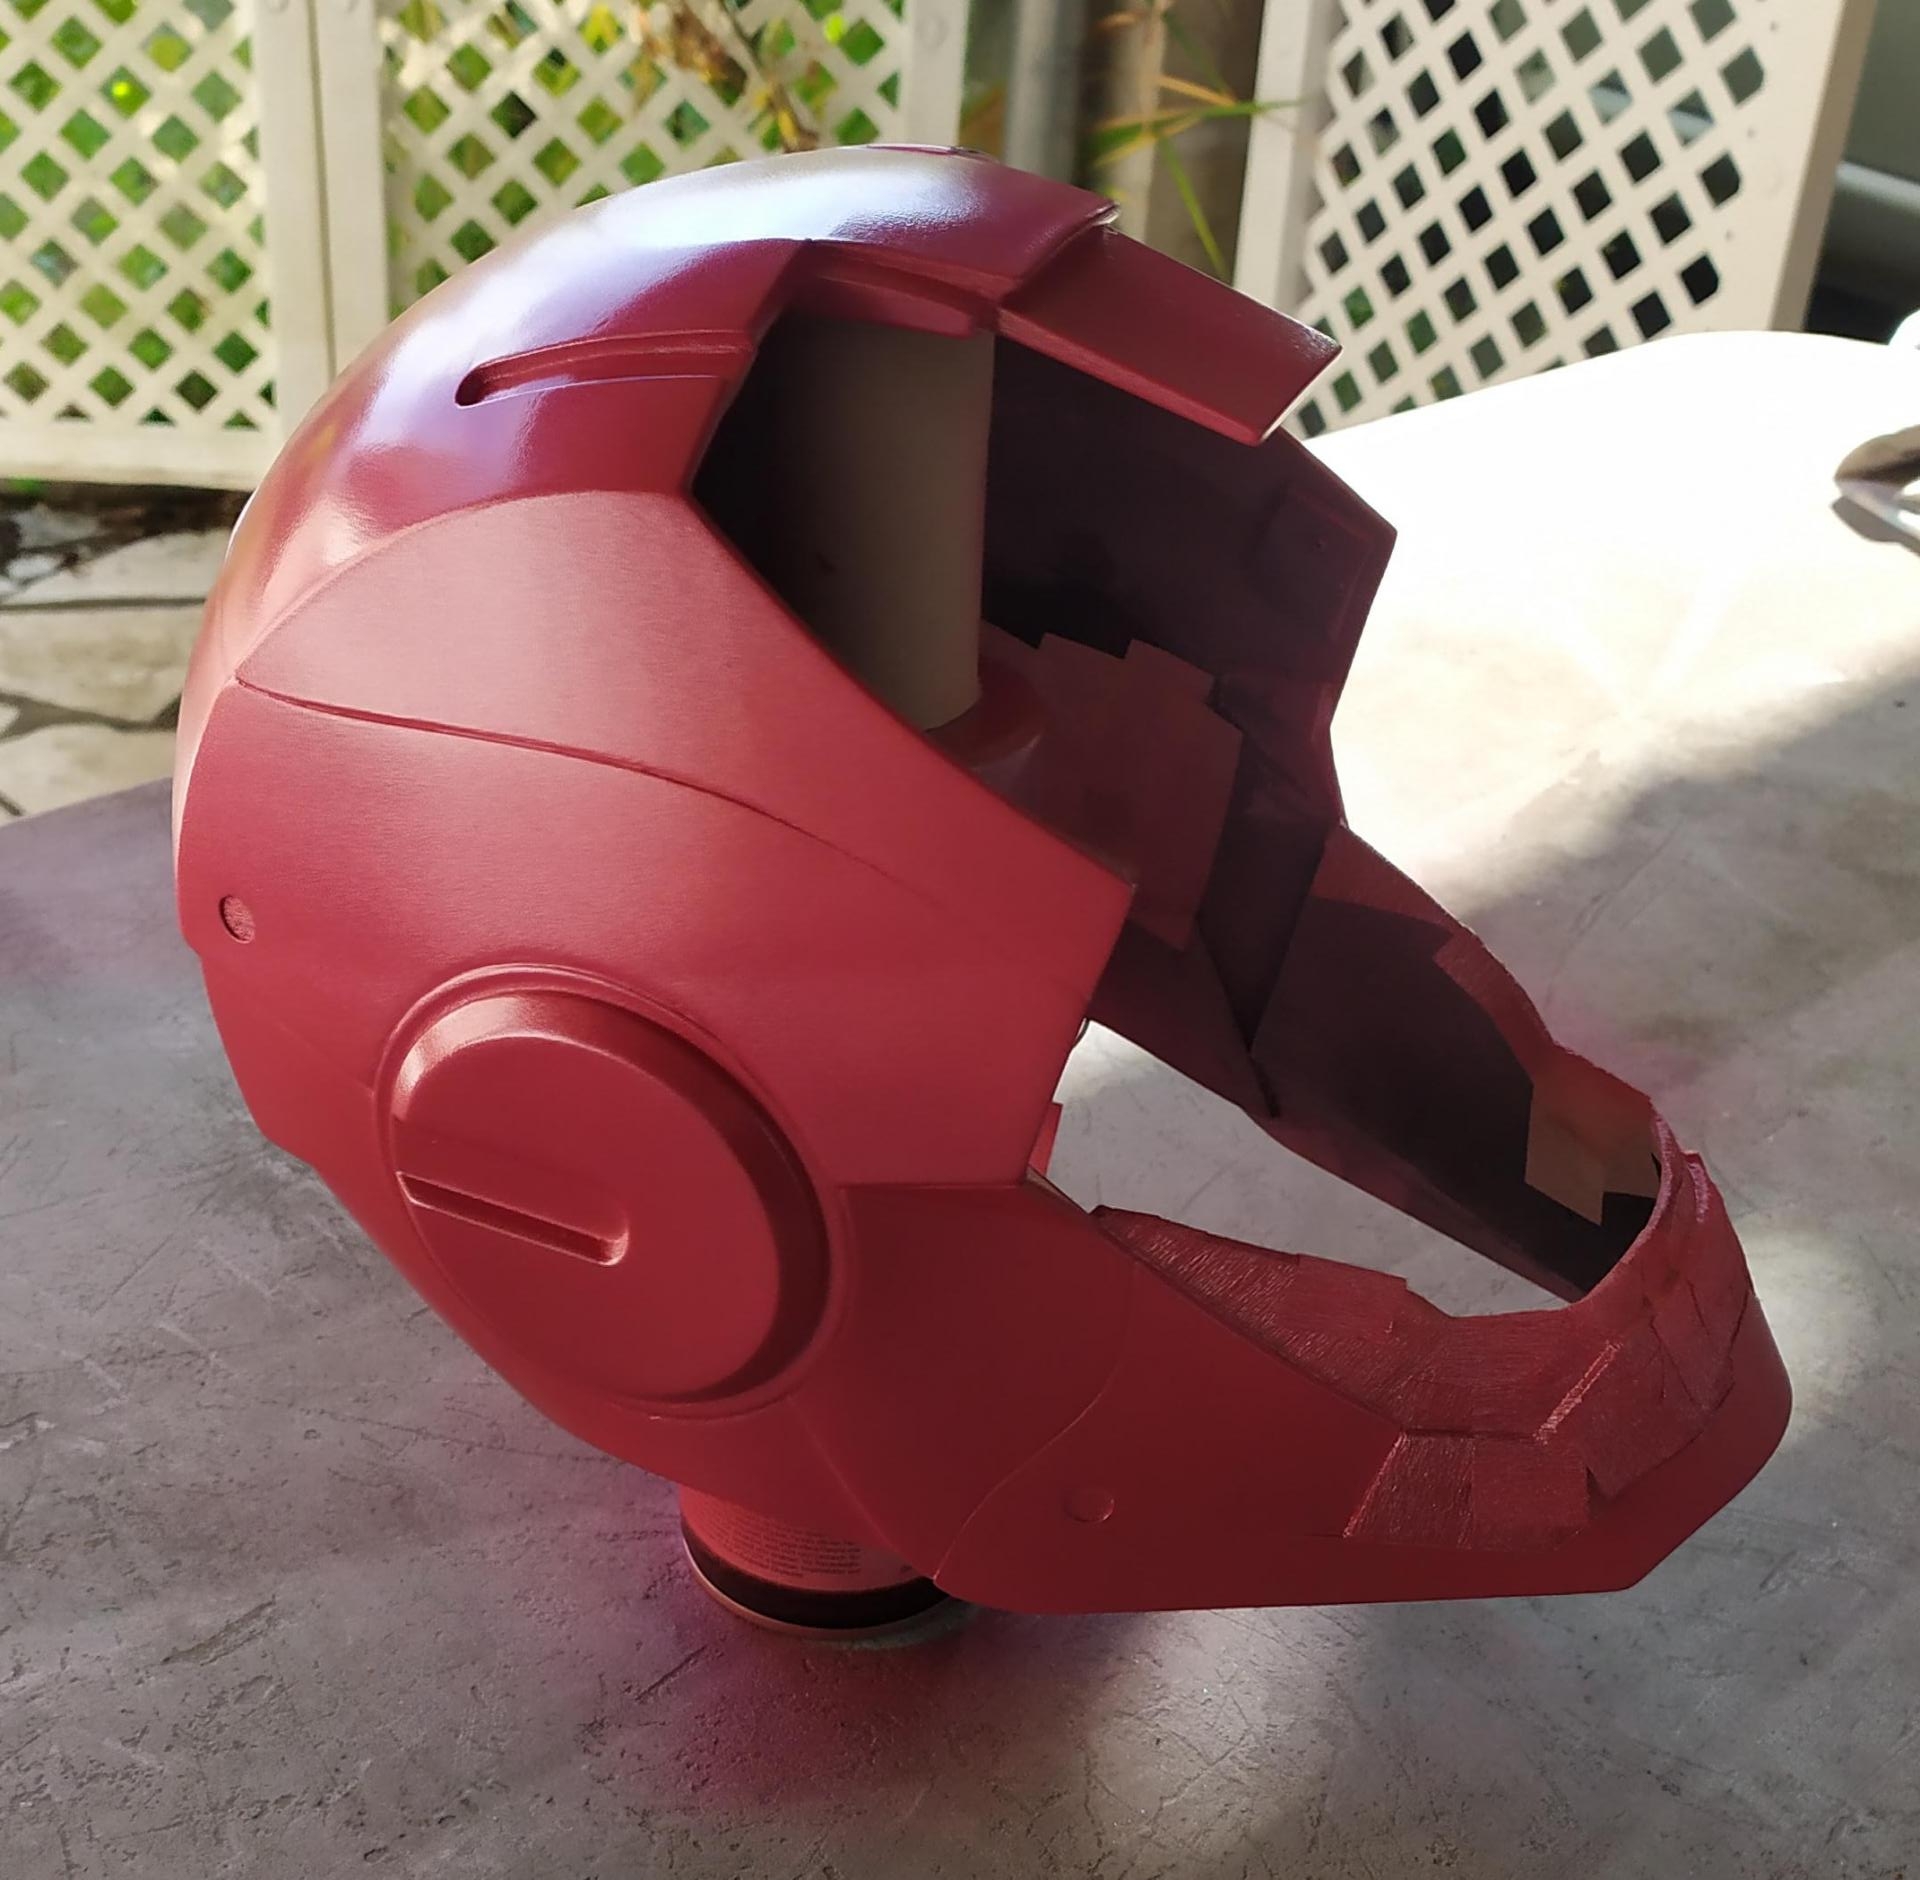
For painting, I didn't have the means or the equipment to have a kind of white room. So I painted my helmet outside, on a sunny day but in the shade and with as little wind as possible.
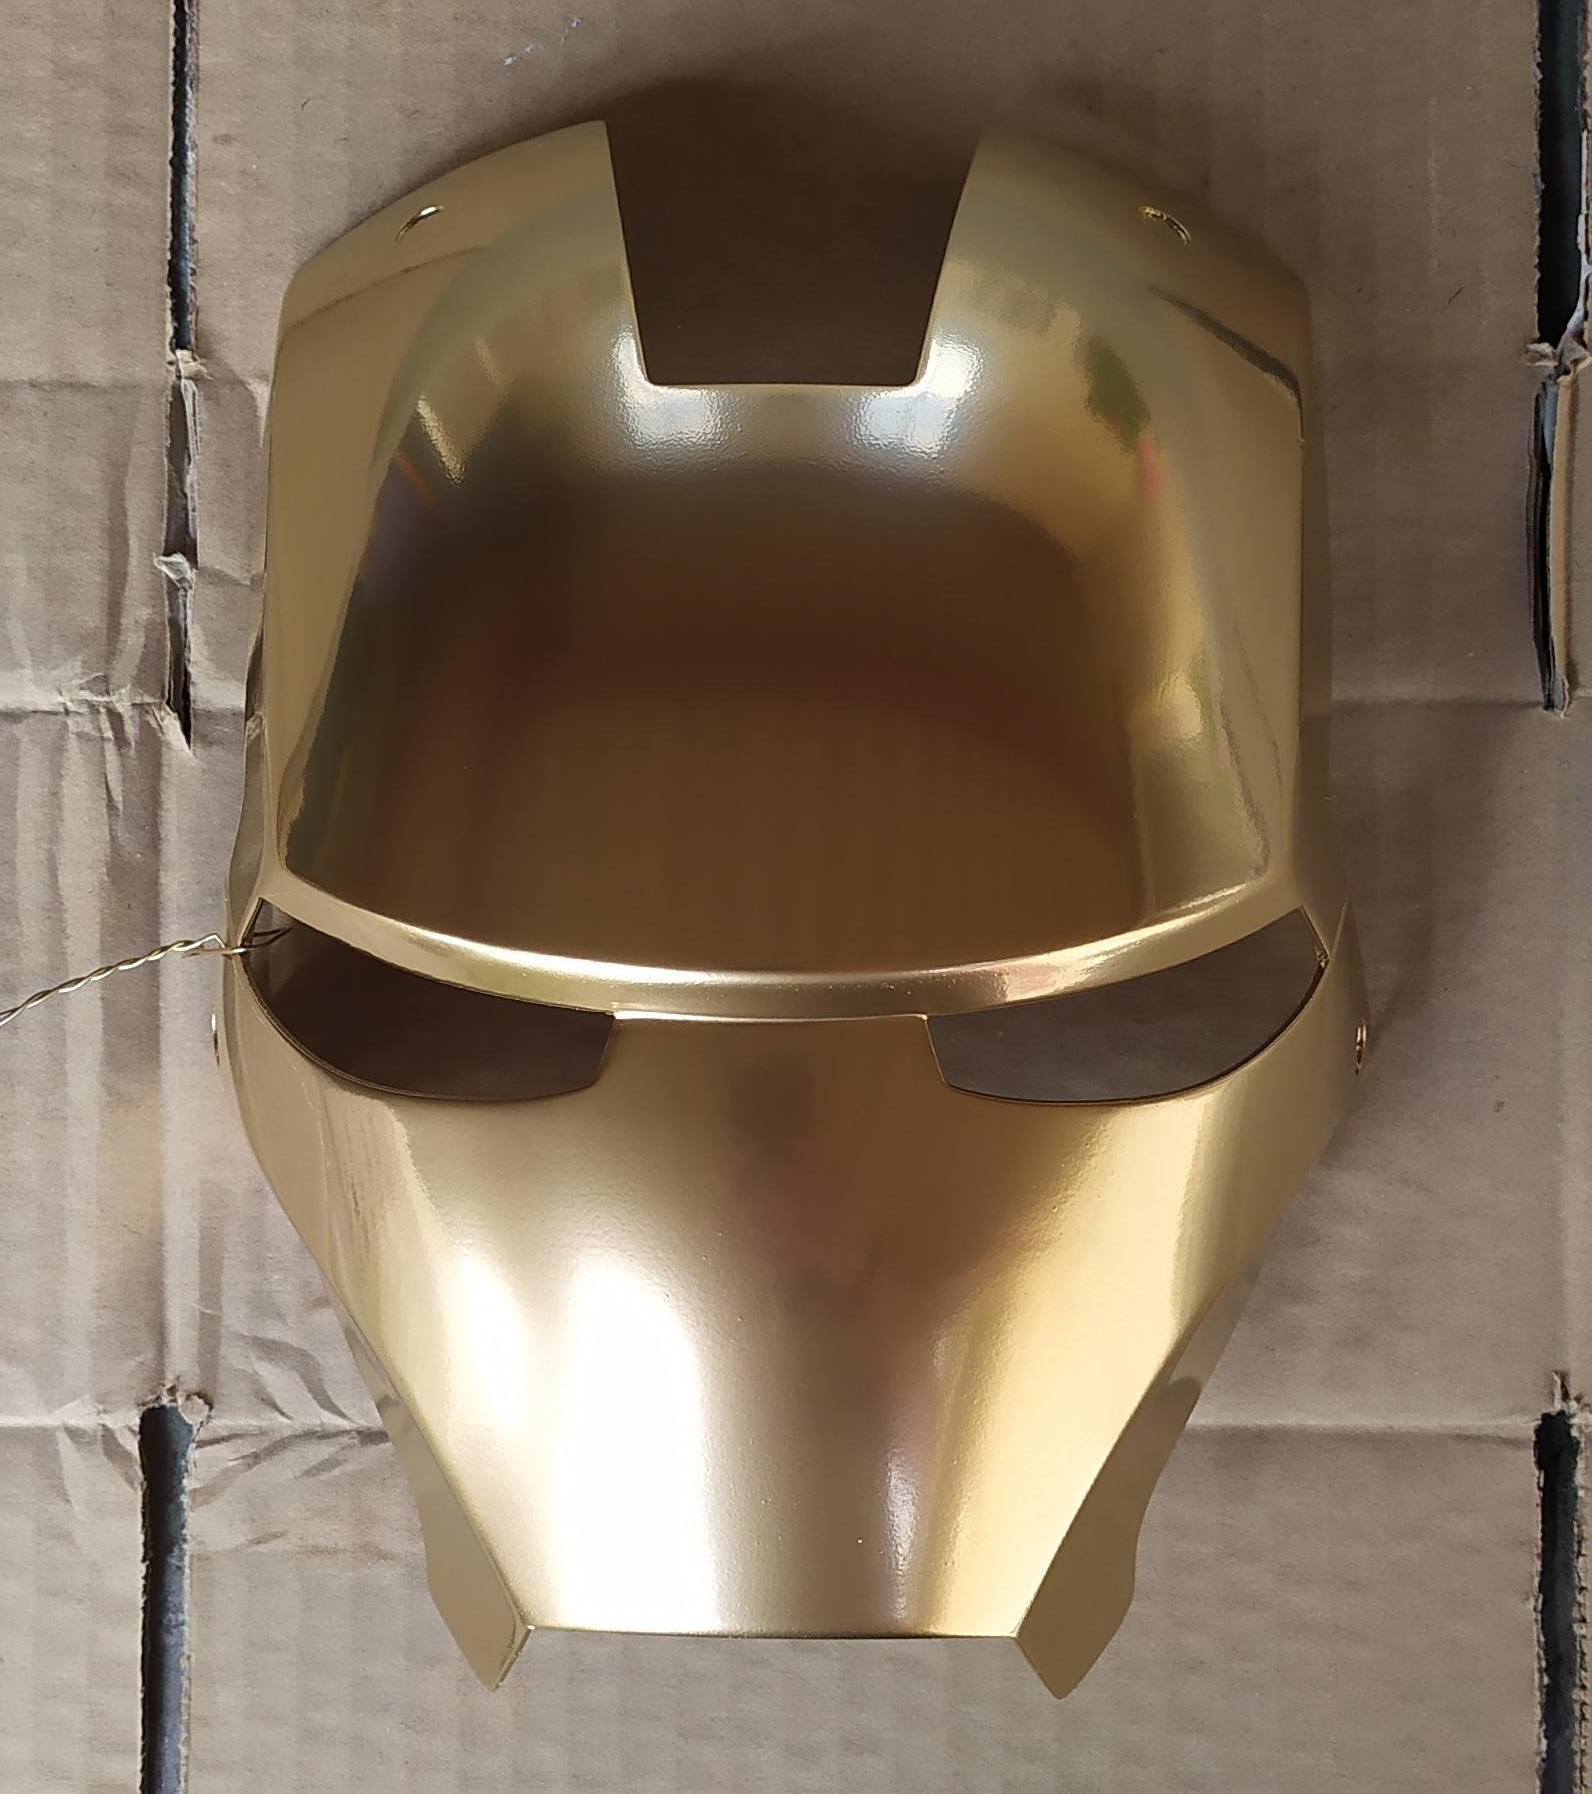
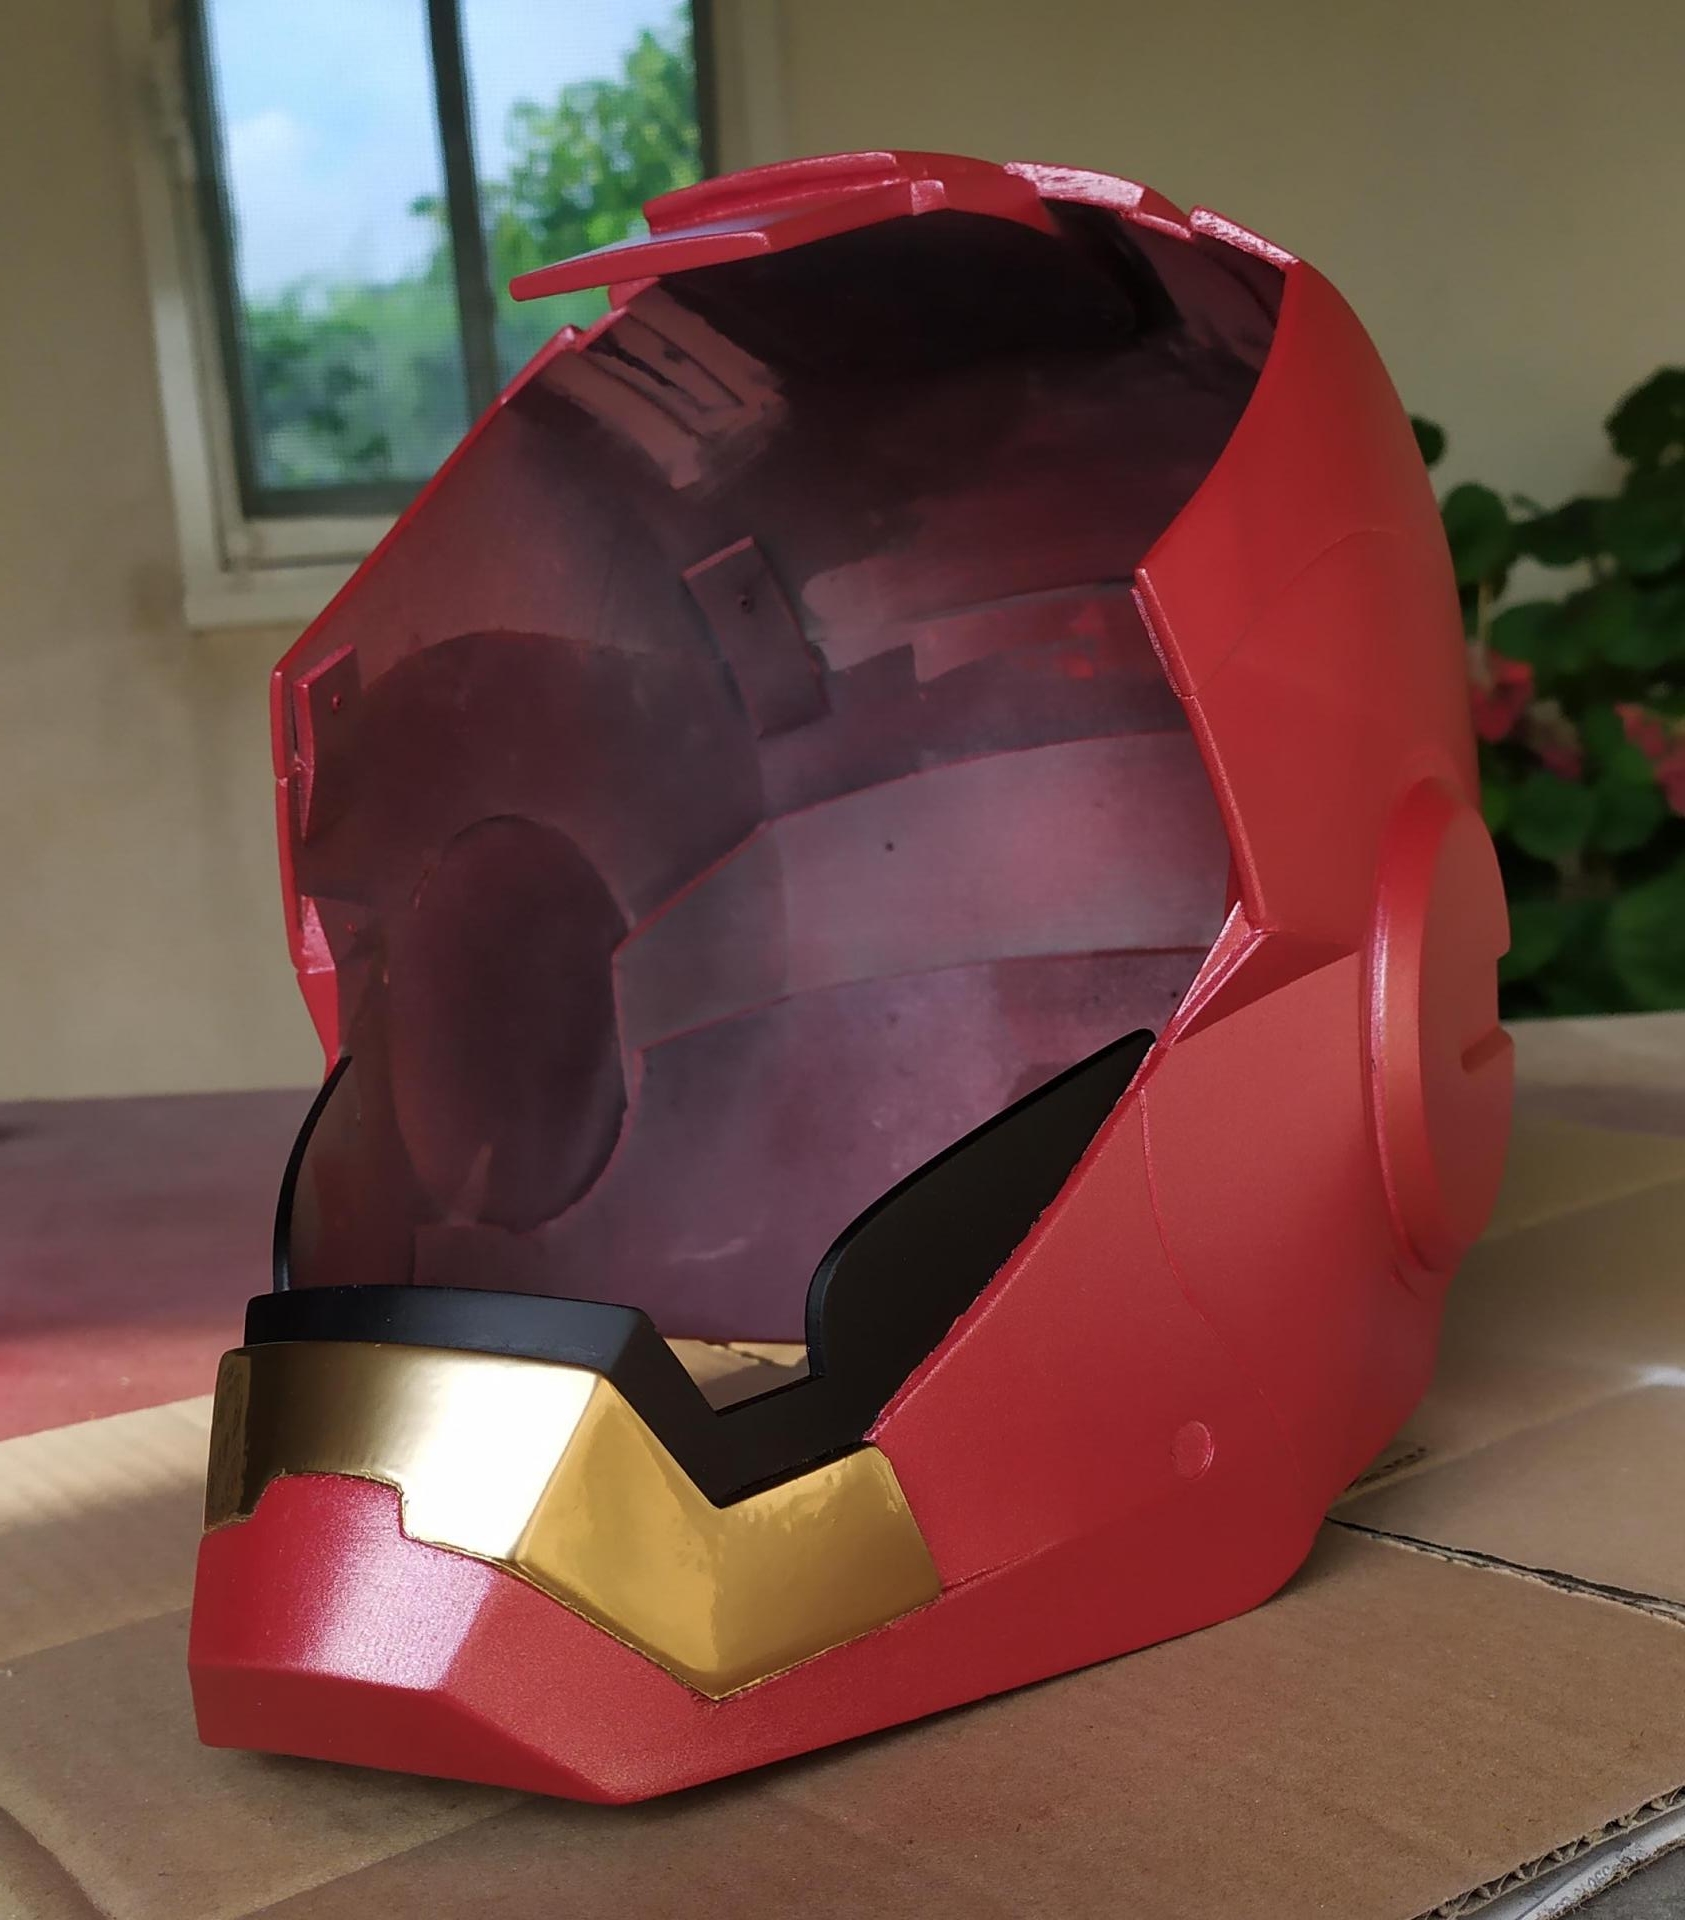
First, I applied a coat of white primer so that future coats of paint would adhere properly to the helmet. I then applied the paints one by one, delimiting the areas with painter's tape. I applied 2 coats for each paint allowing 20 minutes to dry between each one. In addition, I let it dry for 24 hours between the application of two different paints. It is important to remove the tape 20 minutes after the last coat of paint so as not to tear it off!
(FR)
Pour la peinture, je n'avais pas les moyens, ni le matériel pour avoir une sorte de chambre blanche. J'ai donc peint mon casque dehors, un jour de beau temps mais à l'ombre et avec le moins de vent possible.
Dans un premier temps, j'ai appliqué une couche d'apprêt blanc afin que les futures couches de peinture adhèrent correctement au casque. J'ai ensuite appliqué les peintures une à une en délimitant les zones avec du scotch de peintre. J'ai appliqué 2 couches pour chaque peinture en laissant sécher 20 minutes entre chacune d'elles. De plus j'ai laissé sécher 24h entre l'application de deux peintures différentes. Il est important d'enlever le scotch 20 minutes après la dernière couche d'une peinture afin de ne pas l'arracher !
Electronic diagram / Schéma électronique
(EN)
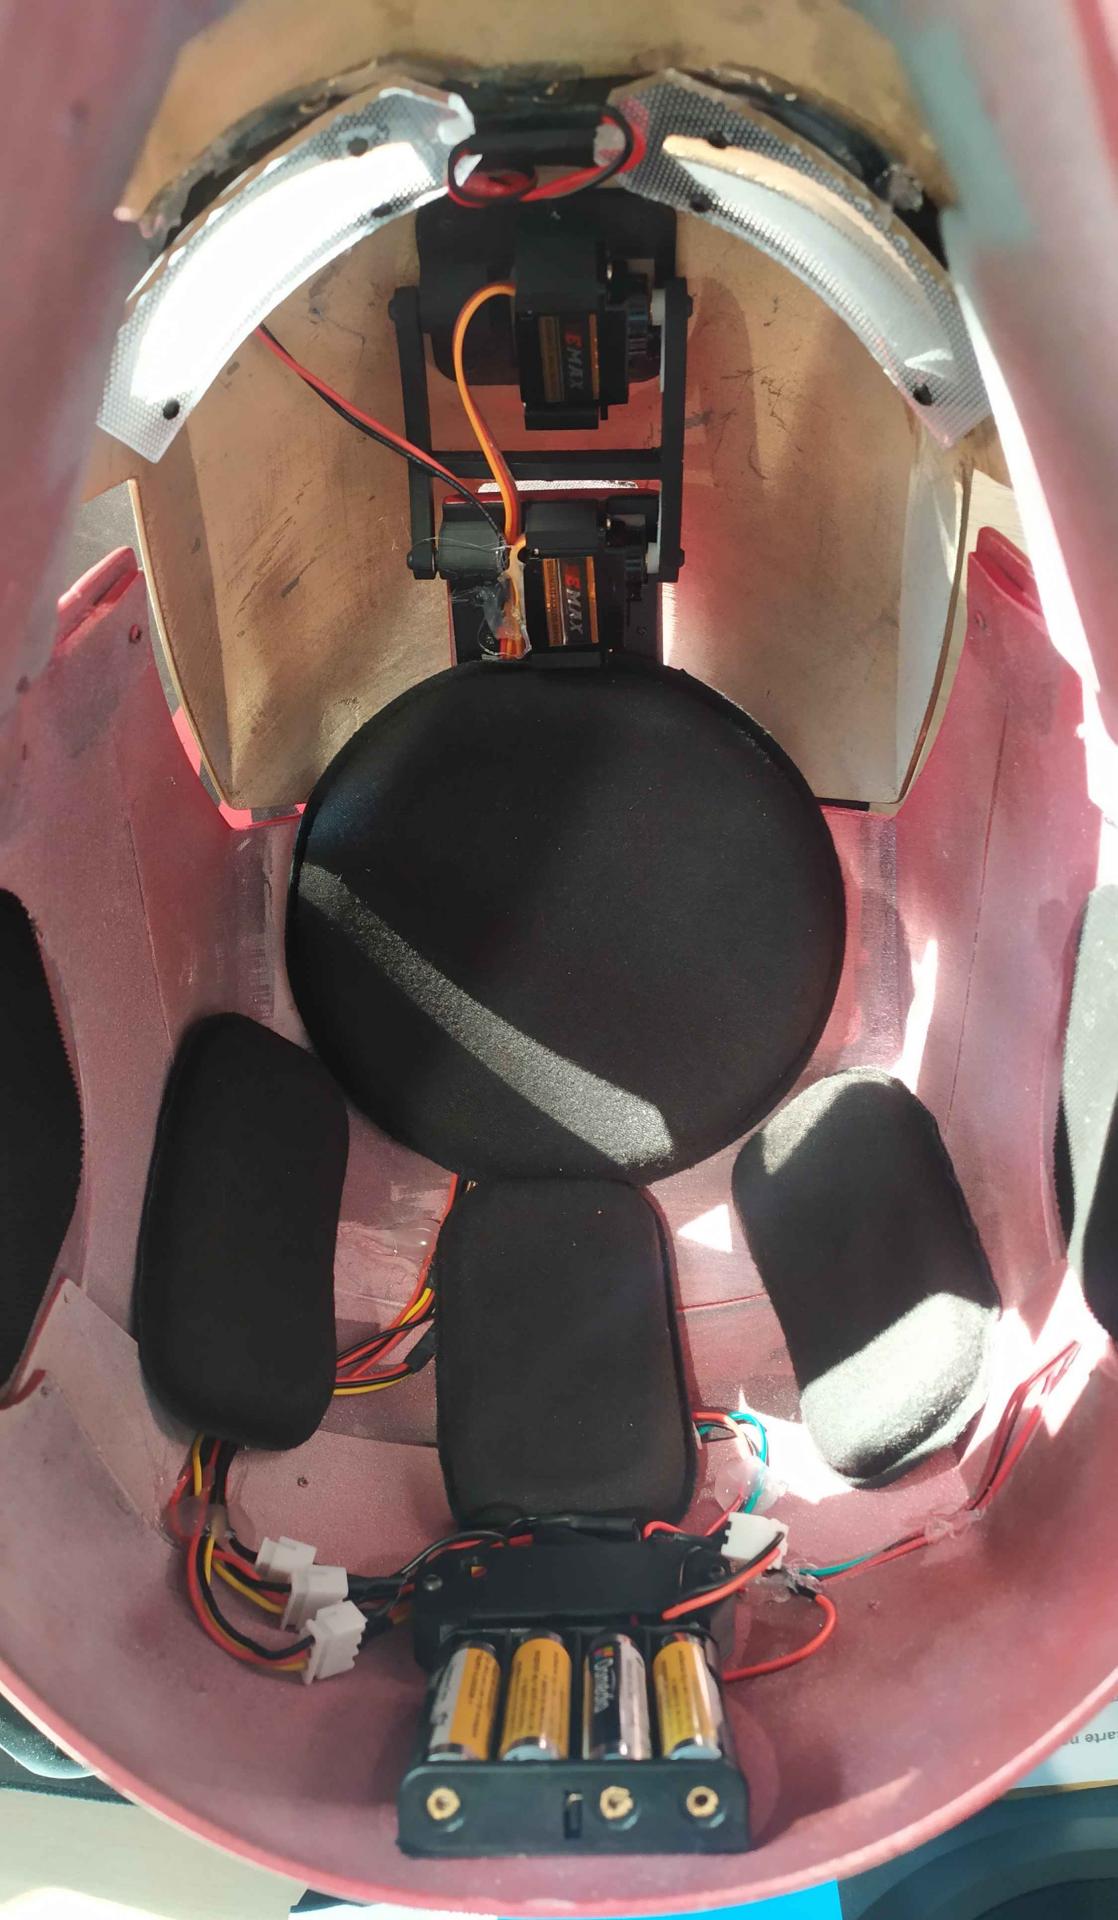
The Arduino and the servomotors are powered directly by the batteries. These are controlled by the Arduino via pins 5 and 6 (PWM pins). The touch sensor can only be powered with 5V, that's why it is powered by the 5V output of the Arduino, and is connected to pin 2 of the Arduino. As for the LEDs (the eyes), I simply power them with pin 3 of the Arduino in order to be able to modify their intensity. Finally, I put a switch in order to be able to turn everything on/off.
UPGRADE N°1 :
I first removed the switch and the battery box (more annoying than anything else and not powerful enough) to be able to power the helmet more easily with a laboratory generator. Then, I added the voice recognition module by supplying it with 5V, and I connected it to the Arduino: The TX pin of the module on the RX pin of the Arduino and vice versa, the RX pin of the module on the TX pin of the Arduino.
(FR)
L'Arduino et les servomoteurs sont alimentés directement par les piles. Ces derniers sont controlés par l'Arduino via les broches 5 et 6 (pins PWM). Le capteur tactile ne peut être alimenté qu'en 5V, c'est pourquoi il est alimenté par la sortie 5V de l'Arduino, et est connecté à la broche 2 de l'Arduino. Pour ce qui est des LEDs (les yeux), je les alimente simplement avec la broche 3 de l'Arduino afin de pouvoir modifier leur intensité. Enfin, j'ai mis un interrupteur afin de pouvoir allumer/éteindre le tout.
AMELIORATION N°1 :
J'ai tout d'abord supprimé l'interrupteur ainsi que le boitier des piles (plus embêtant qu'autre chose et pas suffisamment puissant) pour pouvoir alimenter le casque plus facilement avec un générateur de laboratoire. Puis, j'ai ajouté le module de reconnaissance vocale en l'alimentant au 5V, et je l'ai connecté à l'Arduino : La broche TX du module sur la broche RX de l'Arduino et vice versa, la broche RX du module sur la broche TX de l'Arduino.
Programming / Programmation
(EN)
To be able to upload it, it is necessary to add the Arduino Nano Every in the board manager in the Arduino IDE. To do this, click on "Boards manager" in the board selection tab. Then you have to search for "Arduino megaAVR Boards" and install it. Thus a tab of the same name will appear in the board selection tab. It is then possible to choose the Arduino Nano Every.
I created two functions: the first changes the state of the helmet (open/closed) and the second changes the state of the eyes (on/off). I make the helmet close and the eyes light up (initial state) when I turn on the helmet. Finally, when I pass my hand in front of the left ear, I change the state of the helmet and the eyes. If the helmet is open and the eyes are off, then the helmet is closed and the eyes are on, and vice versa.
UPGRADE N°1 :
The library created for the voice recognition module (accessible in the help links) does not work with an Arduino Nano Every because it uses the SoftwareSerial library. So I found the same library as a solution, which has been modified (by johnwasser) in order to be able to use the hardware serial connection (Serial1 with the TX/D1 and RX/D0 pins). The modifications to be made are also accessible in the help links.
I then had to record the commands in the voice recognition module (a youtube video is available in the help links in order to proceed with the recording of the commands). And I modified my code in order to add the functions necessary for the functioning of the module and the lines of code which allow me to know if a command has been pronounced.
Link to the project's Github
Link to the Arduino IDE tutorial
(FR)
Pour pouvoir le téléverser, il est nécessaire d'ajouter l'Arduino Nano Every dans le gestionnaire des cartes dans l'IDE Arduino. Pour cela, il faut cliquer sur "Gestionnaire de cartes" dans l'onglet du choix du type de carte. Puis il faut chercher "Arduino megaAVR Boards" et l'installer. Ainsi un onglet du même nom va apparaitre dans l'onglet du choix du type de carte. Il sera alors possible de choisir l'Arduino Nano Every.
J'ai créé deux fonctions : la première change l'état du casque (ouvert/fermé) et la seconde change l'état des yeux (allumés/éteints). Je fait en sorte que le casque se ferme et que les yeux s'allument (état initial) lorsque j'allume le casque. En enfin, lorsque je passe la main devant l'oreille gauche, je change l'état du casque et des yeux. Si le casque est ouvert et les yeux éteints, alors on ferme le casque et on allume les yeux, et vice versa.
AMELIORATION N°1 :
La librairie crée pour le module de reconnaissance vocale (accessible dans les liens d'aide) ne fonctionne pas avec un Arduino Nano Every du fait qu'elle utilise la librairie SoftwareSerial. J'ai donc trouvé comme solution la même librairie, qui a été modifiée (par johnwasser) afin de pouvoir utiliser la connexion série matérielle (Serial1 avec les borches TX/D1 et RX/D0). Les modifications à faire sont également accessibles dans les liens d'aide.
Il m'a ensuite fallu enregistrer les commandes dans le module de reconnaissance vocale (une vidéo youtube est disponible dans les liens d'aide afin de procéder à l'enregistrement des commandes). Et j'ai modifié mon code afin d'ajouter les fonctions nécessaires au fonctionnement du module et les lignes de code qui me permettent de savoir si une commande a été prononcée.
Lien vers le Github du projet
Lien vers le tutoriel Arduino IDE
Future improvements / Futures améliorations
(EN)
- Use a 3D model consisting of a single part, in order to avoid having to glue the parts.
- Wait for the paint to dry for several days, to ensure that it is completely dry.
- Use a soldering iron with a flat tip to smooth corners/angles.
- Possibility of adding a micro SD card module, allowing the diffusion of sounds through small speakers.
(FR)
- Utiliser un modèle 3D constitué d'une seule et même partie, afin d'éviter d'avoir à coller les pièces.
- Attendre que la peinture sèche durant plusieurs jours, pour s'assurer qu'elle soit complètement sèche.
- Utiliser un fer à souder avec une panne plate pour lisser les coins/angles.
- Possibilité d'ajouter un module de carte micro SD, permettant la diffusion de sons grâce à des petits haut-parleurs.
Helping links / Liens d'aide
- https://www.arduino.cc/reference/en/libraries/servoeasing/
- https://docs.arduino.cc/static/90c04d4cfb88446cafa299787bf06056/ABX00028-pinout.png
- https://www.elechouse.com/elechouse/images/product/VR3/VR3_manual.pdf
- https://forum.arduino.cc/t/combine-two-voice-recognition-module/910286/14
- https://www.youtube.com/watch?v=5UcZDmEbal8
- https://www.elechouse.com/elechouse/images/product/VR3/VoiceRecognitionV3.zip
- http://thedraill.e-monsite.com/pages/tutorials/arduino-ide.html
Last edited: Mon 07 apr 2025
Comments
-

- 1. 상세페이지 디자인 On Fri 16 jan 2026
I'm impressed, I must say. Rarely do I encounter a blog that's both educative and
amusing, and without a doubt, you've hit the nail on the head.
The issue is something too few men and women are speaking intelligently about.
I'm very happy that I stumbled across this during my search
for something regarding this. -

- 2. Mulan_VB On Tue 09 jul 2024
Hello,
I want to make this project. I saw your remix on thingiverse where just the ear was adjusted. Do you have the code for this where the whole project is the same as the original from boxandloops, but where the open and close butten is replaced by the touch sensor. So the battery, servos, on and off, button and arduino nano every stay the same in code and model. The touch sensor needs to be the only change in the code and models. I saw on your hookup diagram that there was no ON- and OFF button, did I saw this right? Or is that button still there in model and code? Where can I find the code for only this simple upgrade / remix? (No microphone or speaker)
Thanks
Mulan Van Brabandt-

- marc_guedonOn Tue 09 jul 2024
Hello, I don't have the code for Boxandloops on which I only changed the button with the touch key, and there is no code just for this remix. I think you just need to change a condition and add a while(...){} to implement the touch sensor. There is no on/off button/switch on my version of the helmet, because I plan to make a complete armor for which there will only be one general switch. However, it is entirely possible to add one to open/close the circuit at the battery level. Best regards. Marc GUEDON
-

- 3. Juan Ignacio Larraín On Wed 11 oct 2023
Hi, I'm planning to build this helmet, but i was wandering if i could use the MG90s servo instead of the ES08MA II?-

- marc_guedonOn Wed 11 oct 2023
Hello, The dimensions are not quite the same, so the 3D model may need to be adapted slightly to fit the MG90S. Other than that, there shouldn't be any problems. Best regards. Marc GUEDON
-

- 4. Matt On Sun 11 sep 2022
Hello,
I am trying to get this to work using only the touch sensor and not the voice module. Would you be willing to share your original code before you added the voice module? Thanks.-

- marc_guedonOn Wed 14 sep 2022
Hello Matt, I added the first version of my code in the "helping links" part. You should be able to download it. I hope you enjoy making this project as much as I enjoyed making it.
-

- 5. Pierre On Sun 08 may 2022
Super projet ! J'ai pu avoir quelque spoiler durant le projet... Le rendu est superbe, sa donne des idées et envie de le réaliser a son tour ! Bien jouer ! -

- 6. Jinr0h404 On Mon 07 feb 2022
Super projet, merci à l'auteur et à vous de le partager. -

- 7. Moritz Mayer On Wed 02 feb 2022
Hello,
I find the project very exciting and have already printed, assembled and wired it. However, I have problems with the program code. The servos do not stop at the point, but repeatedly move from the closed to the open state. I am still a beginner when it comes to programming an Arduriono. Maybe you could also publish your program code?
Best regards
Moritz Mayer-

- marc_guedonOn Wed 09 feb 2022
Hello, The page concerning the project is still under construction, but I added for you, the code of my project. In fact, the values of the angles for the servomotors are different for everyone. I therefore advise you to modify them yourself so that they correspond as much as possible to the positions in which you want your helmet. I was super happy and proud of myself after making my own helmet, so I hope you will too! If you still need help, I'll do my best. I wish you good luck in your project. Best regards. Marc GUEDON
Add a comment


