Stream Deck
(EN)
The Stream Deck was invented by Elgato but it's rather expensive, so i wanted to create one by myself.
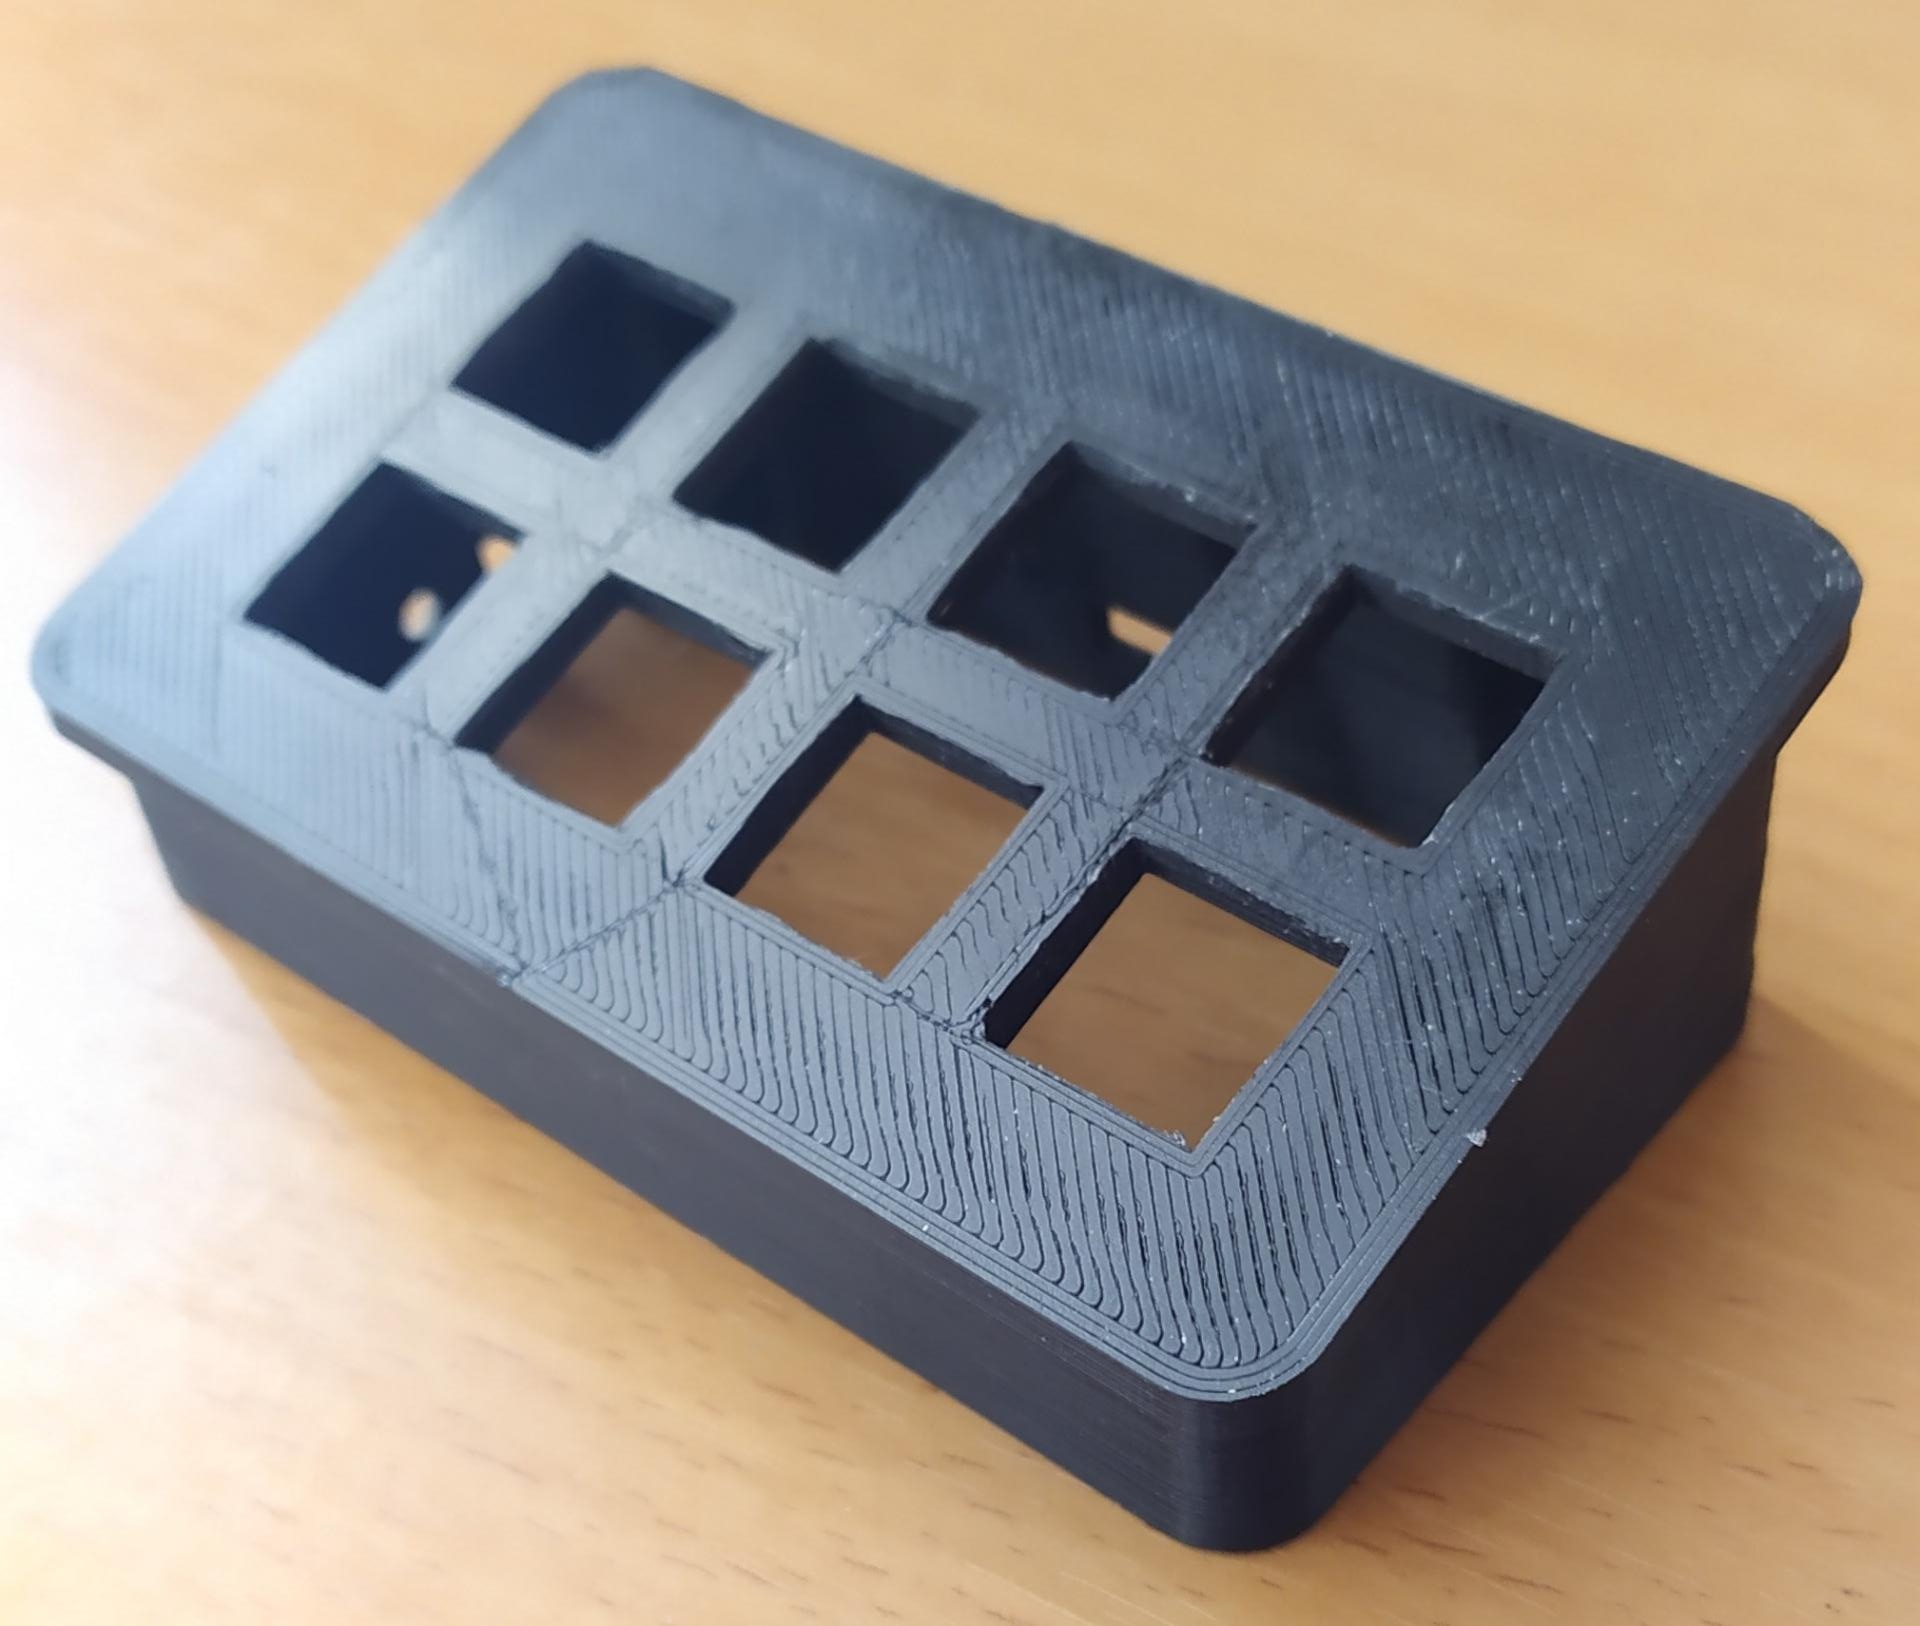
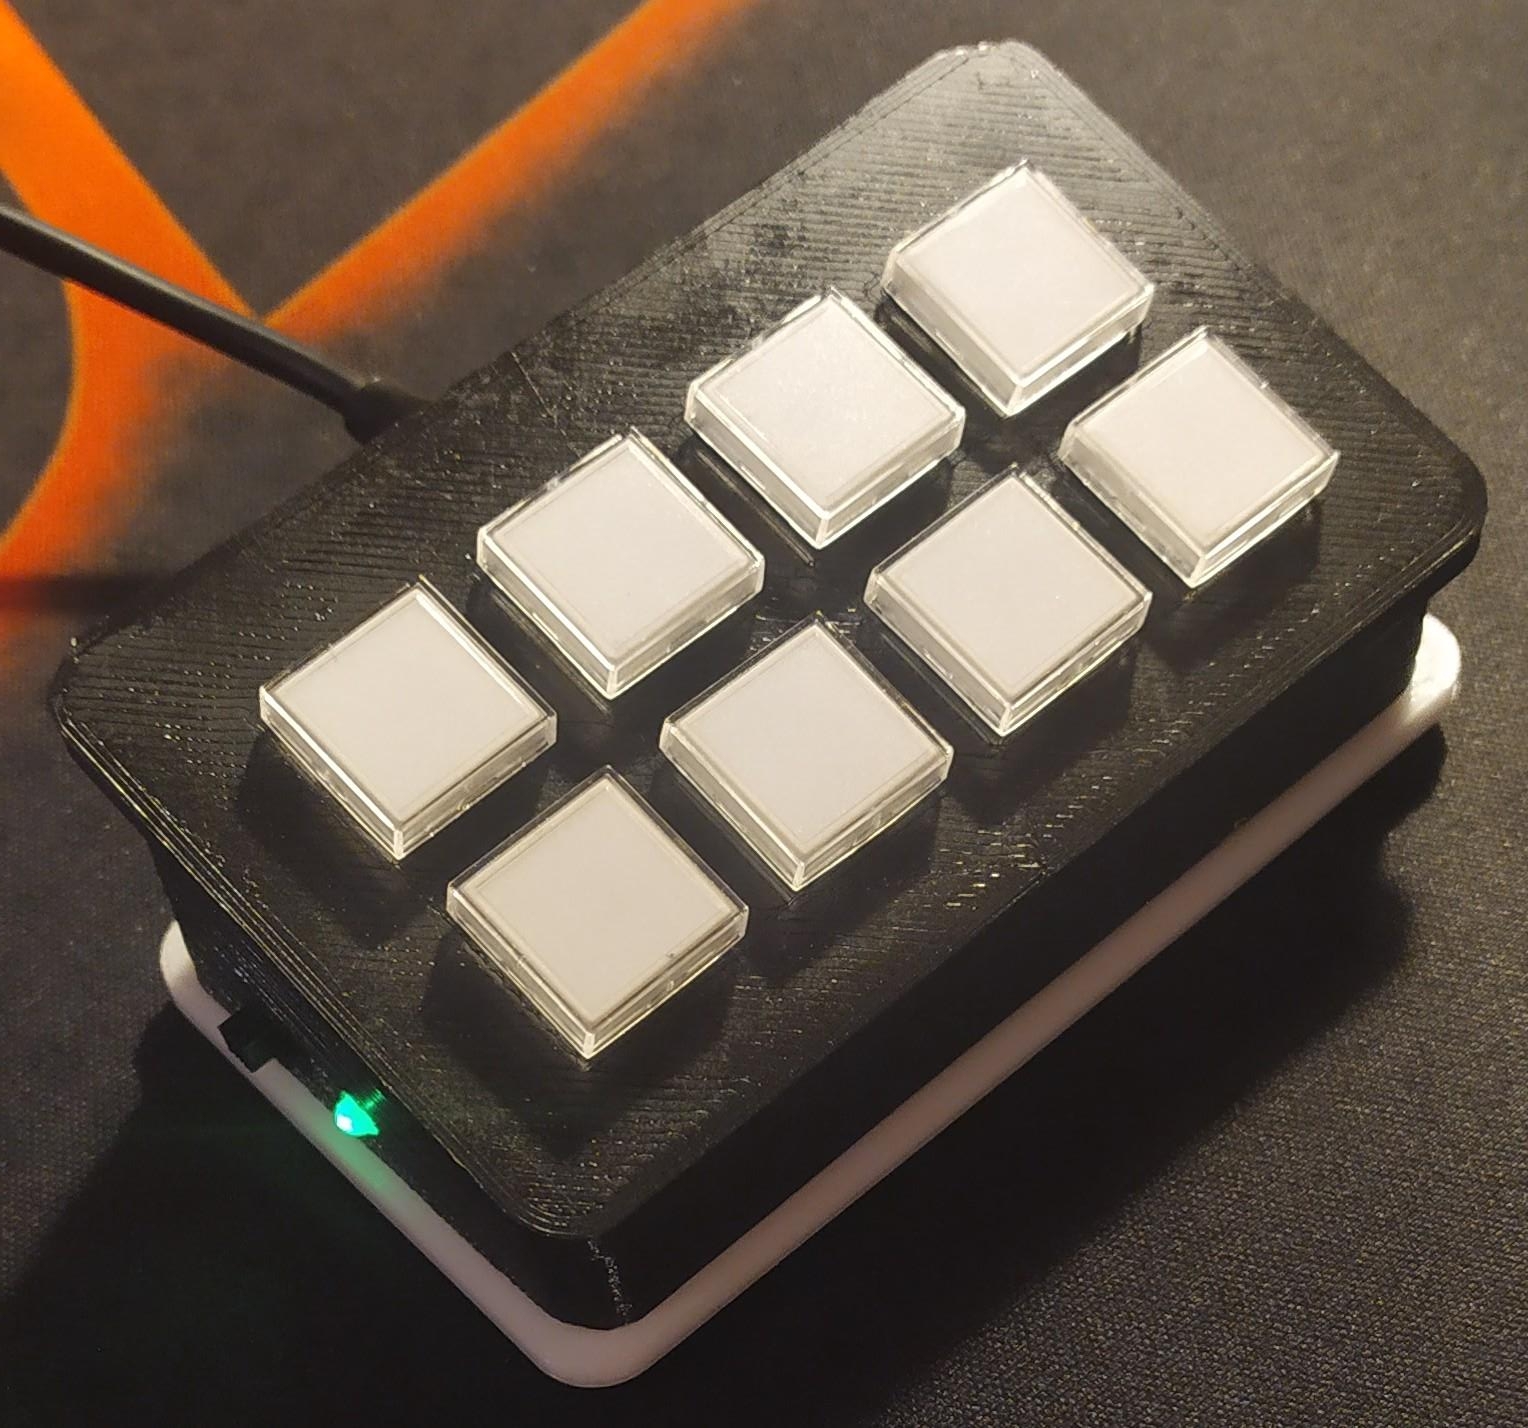
It is a Stream Deck based on Arduino. A Stream Deck is a small hardware tool that lets you run a macro as soon as you press one of its buttons. This Stream Deck has 8 buttons with integrated LEDs and works with an Arduino micro pro (considered as Arduino Leornado). It is powered by USB directly from the computer and it is from this port that it will transmit the shortcut used. The latter allows you to call a sound on the SoundPad software available on Steam. Its case is printed in 3D.
(FR)
Le Stream Deck a été inventé par Elgato, mais c'est plutôt cher, c'est pourquoi j'ai souhaité en créer un moi même.
C'est un Stream Deck basé sur un Arduino. Un Stream deck est un petit appareil qui vous permet de lancer un macro dès lors que vous appuyez sur un de ses boutons. Ce Stream Deck possède 8 boutons avec des LEDs intégrées et fonctionne avec un Arduino micro pro (considéré comme un Arduino Leornado). Il est alimenté directement en USB par l'ordinateur et c'est par ce port qu'il va transmettre le raccourci utilisé. Ce dernier vous permet alors d'appeler un son depuis le logiciel SoundPad disponible sur Steam. Son boitier est quant à lui imprimé en 3D.
Nomenclature / Nomenclature
(EN)
- 1 Arduino micro pro (Arduino Leonardo)
- 8 momentary push buttons (square/round/with LED/without LED)
- 1 2-position switch (3 pins)
- 1 green LED 3mm
- Electric wires
- 1 resistor 680Ω 1/4W + 8 resistors 680Ω 1/4W (if buttons with LED)
- 4 inserts M3 x 4mm
- 4 screws M3 x 5mm
- 3D filament
- 4 silicone pads
- 2 hot glue sticks
- SoundPad (software)
The total price is around 25-30€
(FR)
- 1 Arduino micro pro (Arduino Leonardo)
- 8 boutons poussoirs momentanés (carrés/ronds/avec LED/sans LED)
- 1 interrupteur 2 positions (3 broches)
- 1 LED verte 3mm
- Fils électriques
- 1 résistance 680Ω 1/4W + 8 résistances 680Ω 1/4W (si boutons avec LED)
- 4 inserts M3 x 4mm
- 4 vis M3 x 5mm
- Filament 3D (noir mat)
- 4 patins en silicone
- 2 bâtons de glue chaude
- SoundPad (logiciel)
Le prix total est d'environ 25-30€
Electronic diagram / Schéma électronique
(EN)
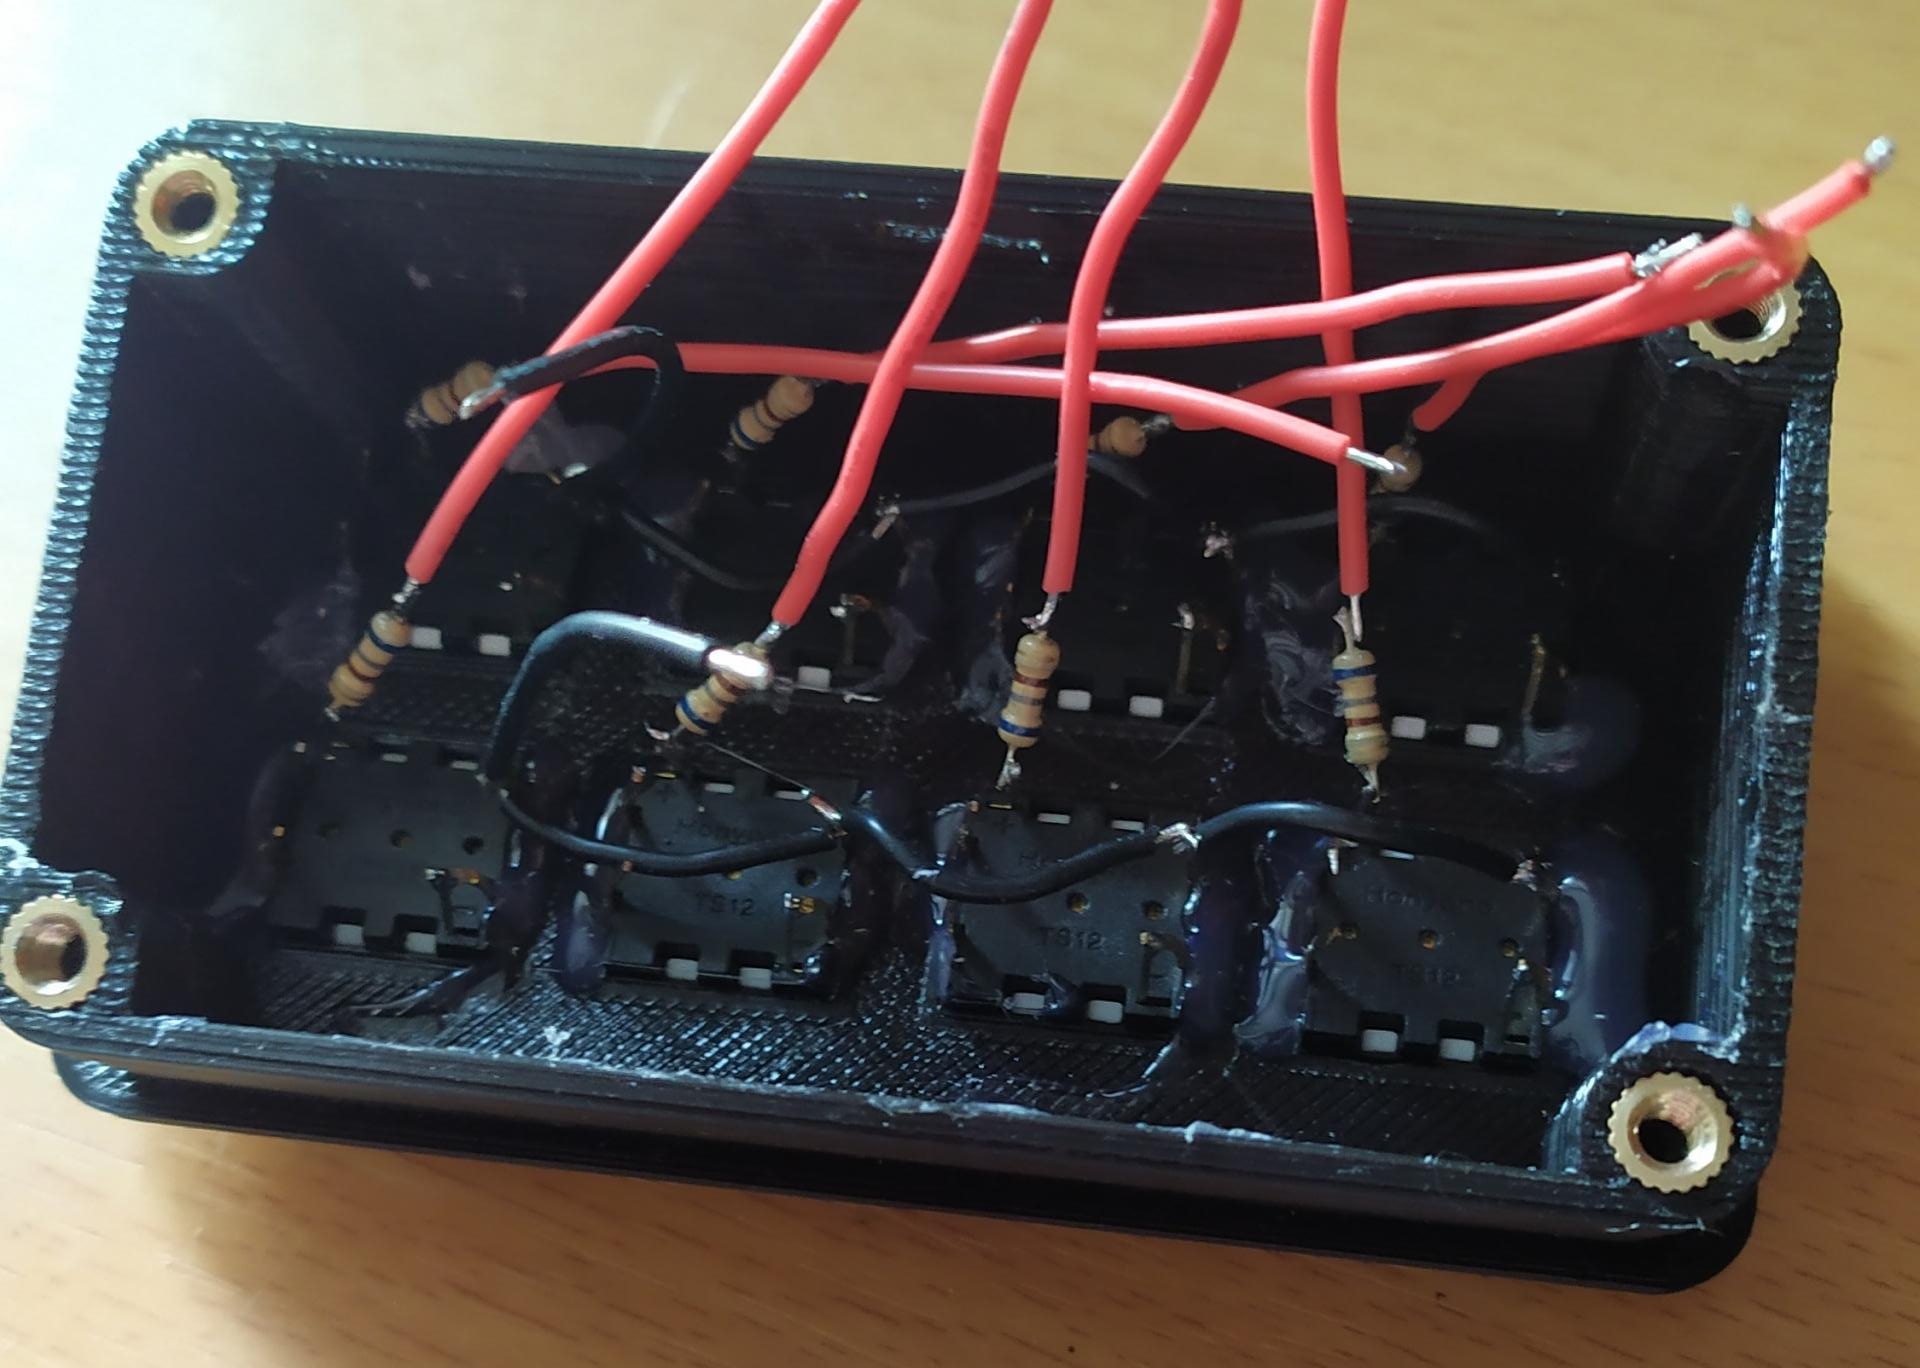
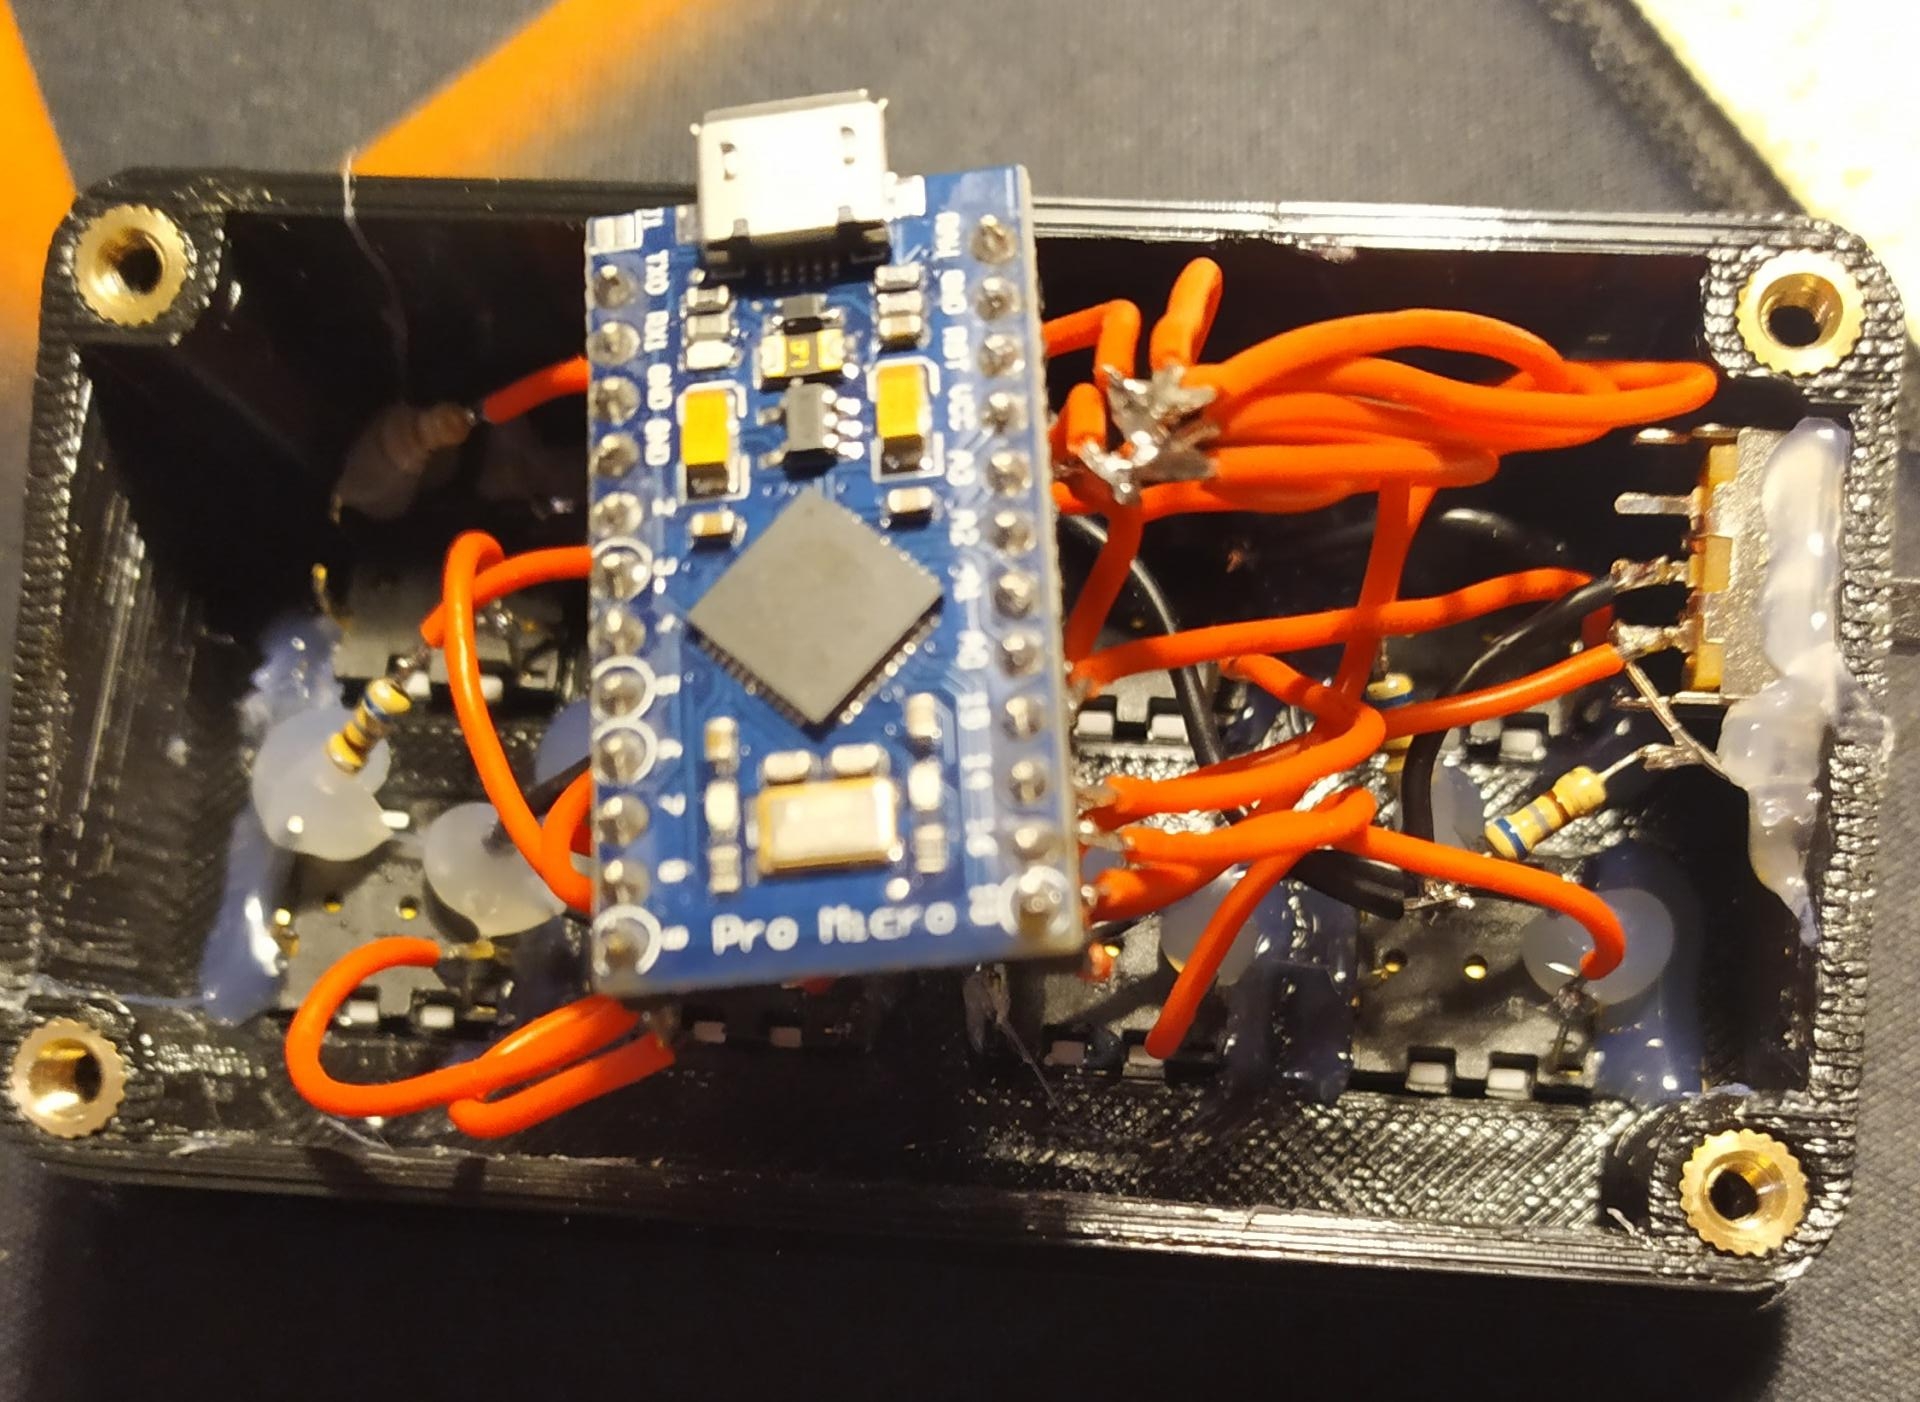
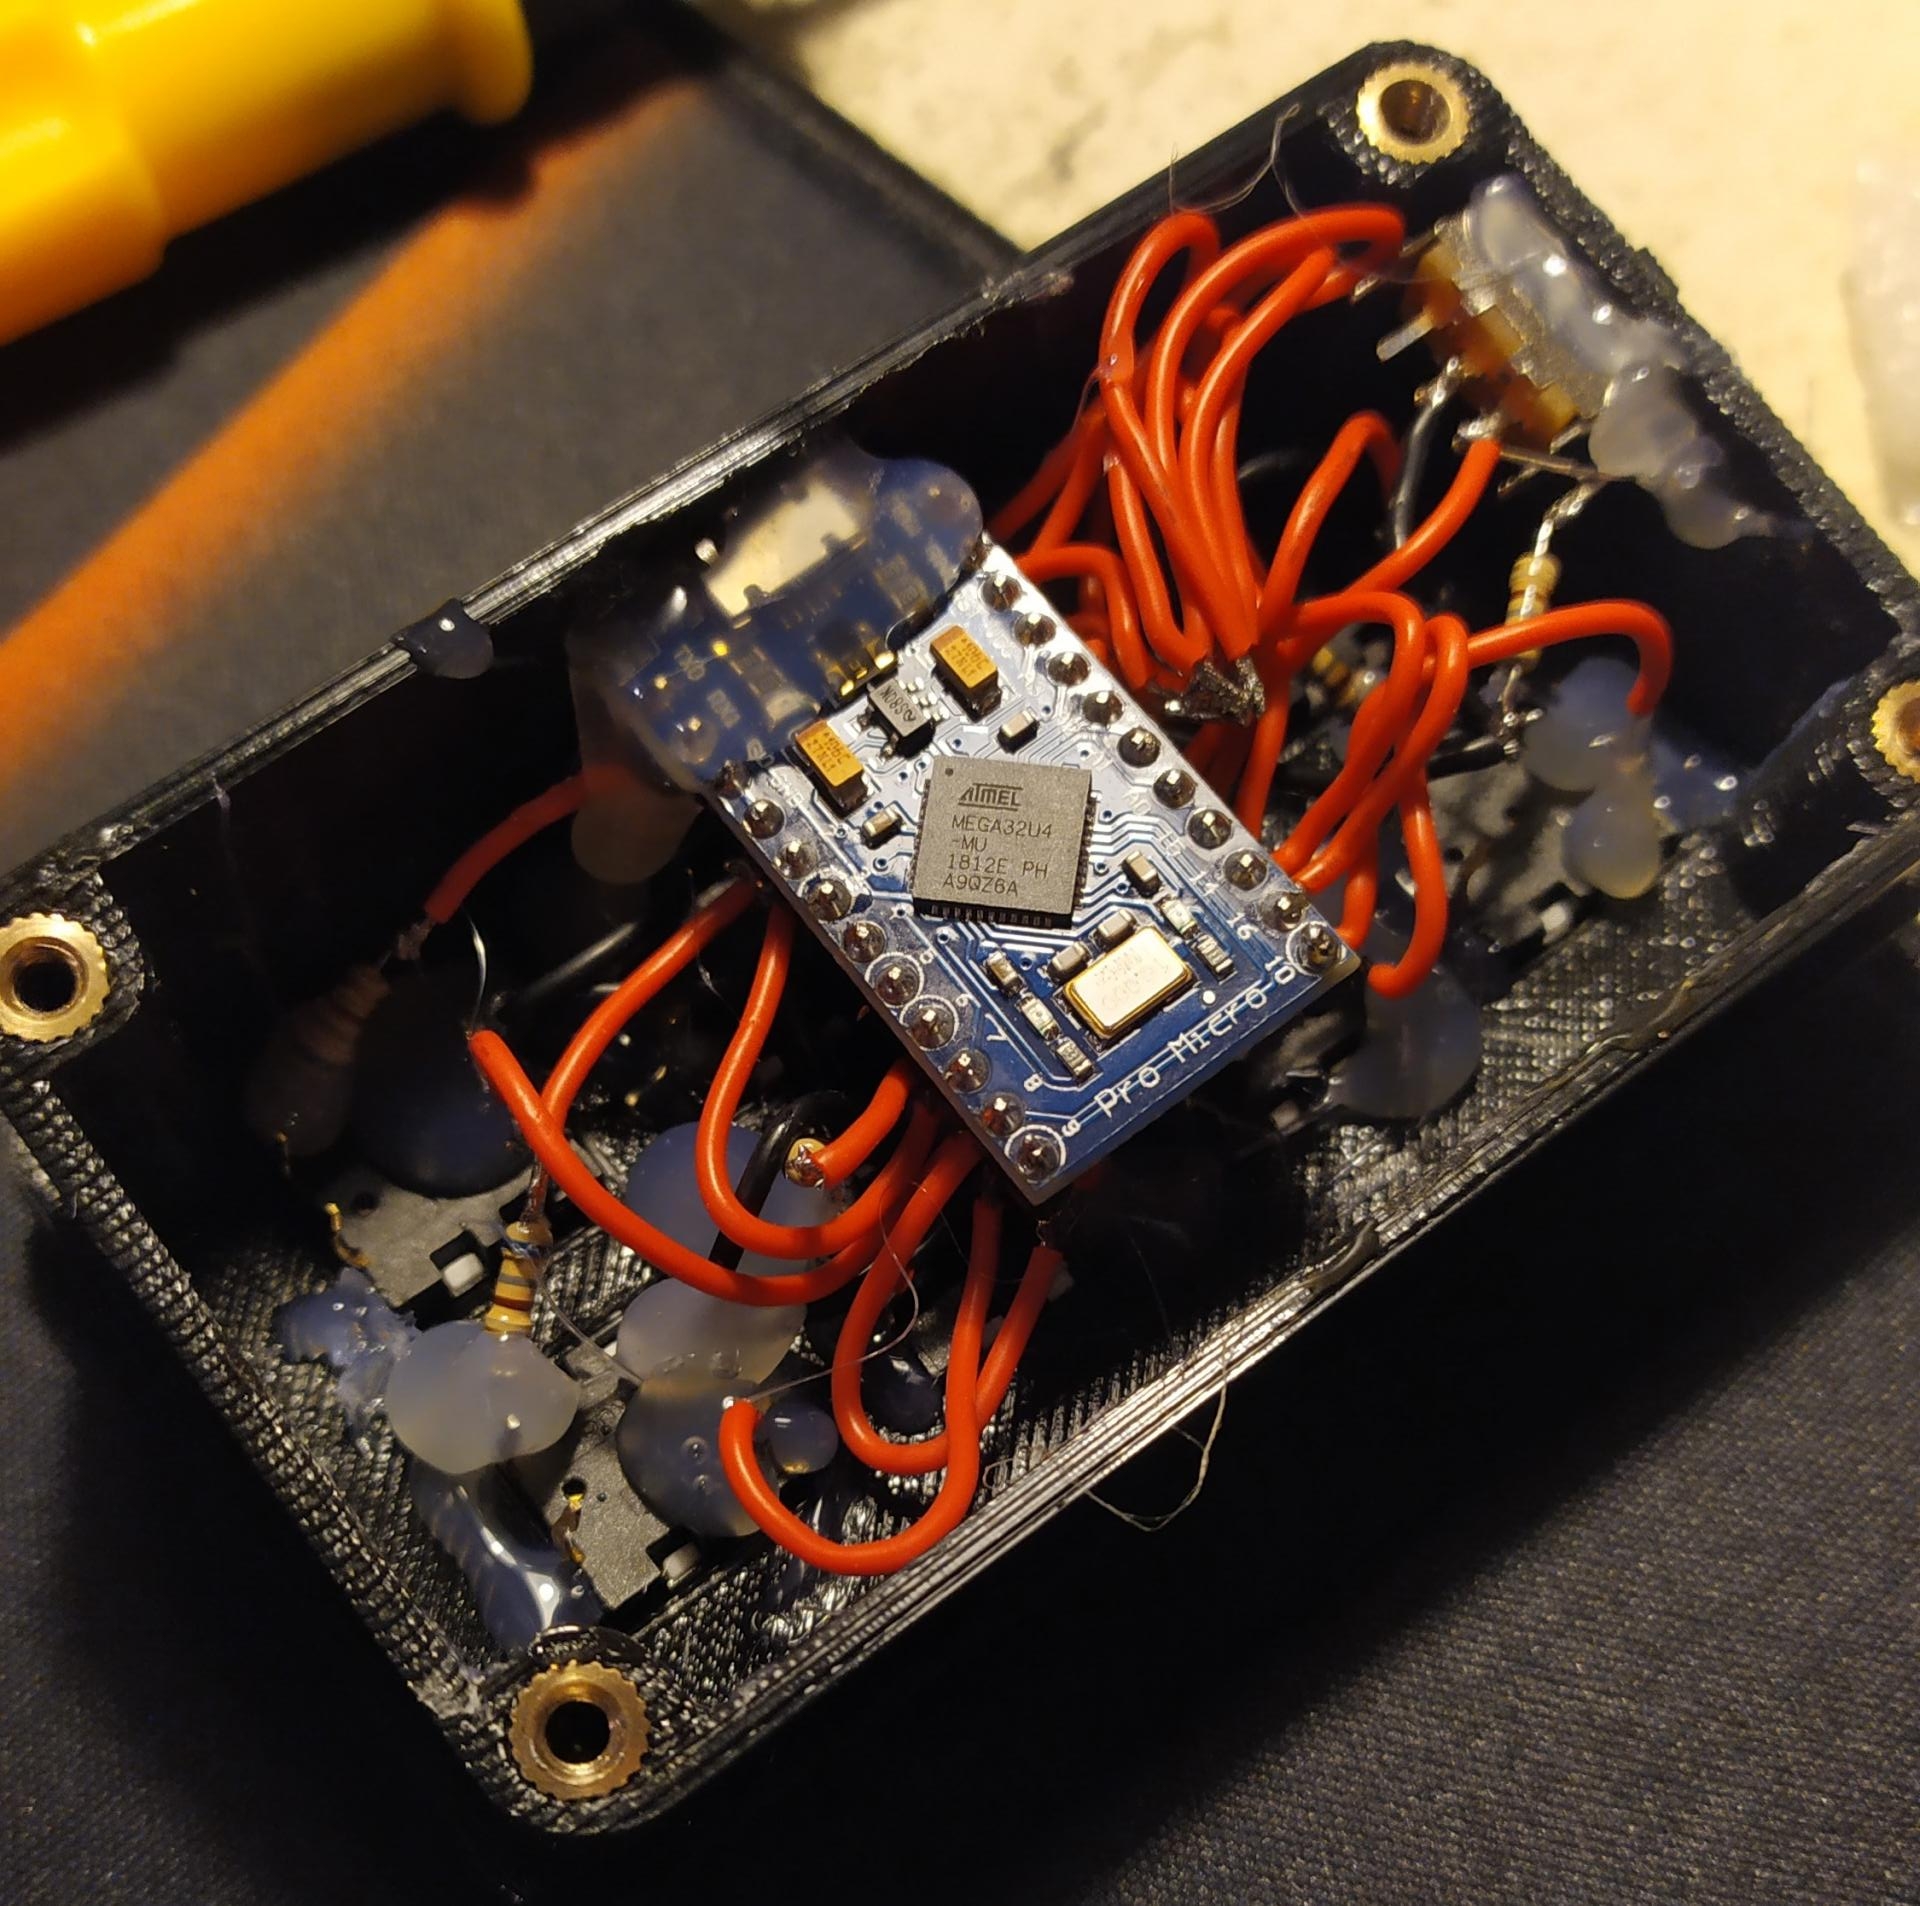
Each button is associated with an Arduino pin and they are all connected to its ground. To represent the buttons I used, I added for each of them a LED with its resistor of 680Ω. Its LEDs are all connected to the Arduino 5V and their respective button. However, if you have buttons without LEDs, you can remove them. The switch also has an LED with its resistance to know if the Stream Deck is on or off.
(FR)
Chaque bouton est associé à une broche de l'Arduino et ils sont tous connectés à sa masse. Pour représenter les boutons que j'ai utilisés, j'ai ajouté pour chacun d'eux une LED avec une résistance de 680Ω. Ces LEDs sont connectées au 5V de l'Arduino et à leur bouton respectif. Cependant, si vous avez des boutons sans LED, vous pouvez les retirer. L'interrupteur possède également une LED pour savoir si le Stream Deck est allumé ou non.
Programming / Programmation
- File name: Streamdeck
- Size: 600 b
(EN)
Here is the code to upload to the Arduino, it's really not complicated. If you don't have it, you need to download and install the Arduino IDE. I use the Keyboard library to send macros to the computer. Most keyboards do not have them, but computers include the F1 through F24 keys. You do not have to follow the numbering pins. For my part, I put them according to the welds I made and therefore the place I had in the case.
Link to the Arduino IDE tutorial
(FR)
Voici le code à téléverser dans l'Arduino, il n'est pas compliqué. Si vous ne l'avez pas, vous allez devoir télécharger et installer l'IDE Arduino. J'ai utilisé la Keyboard library pour envoyer les macros à l'ordinateur. La plupart des claviers ne les ont pas, mais les ordinateurs comprennent de la touche F1 à la touche F24. Vous n'êtes pas obligé de suivre la numérotation des broches. Pour ma part, je les ai mis en fonction de la soudure que j'ai faite et de la place que j'avais dans le boitier.
Lien vers le tutoriel Arduino IDE
3D printing / Impression 3D
(EN)
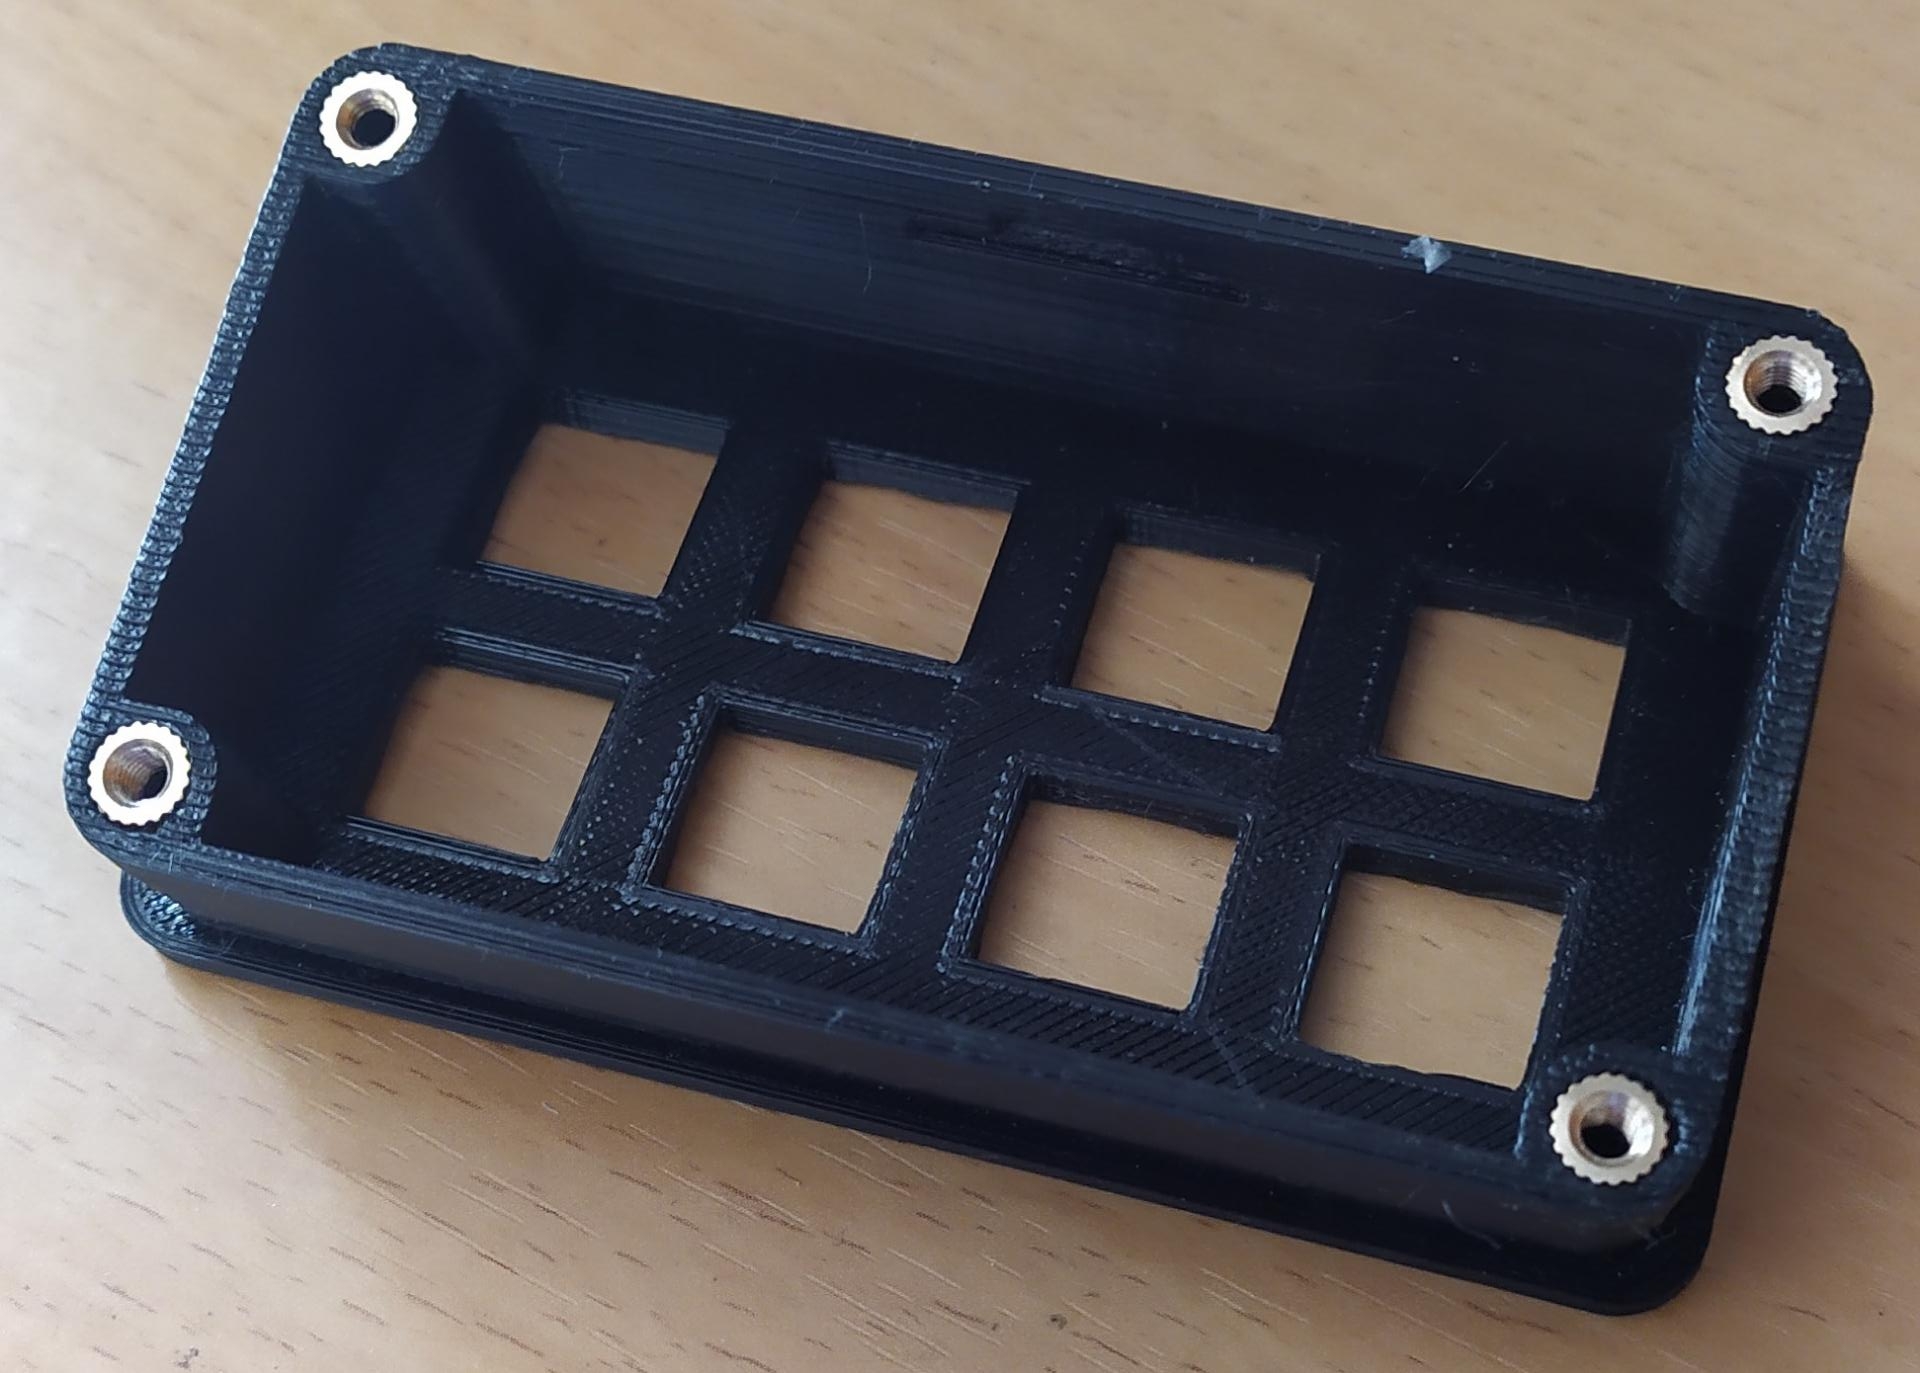
As I said before, the Stream Deck has 8 buttons (12x12mm for me). On its left, I modeled the holes to put the 2-position switch and the 3mm LED. I put the connector for the Arduino micro pro at the back. I chose to print the case in black and white because it is more sober.
Link to Thingiverse/Cults3D
(FR)
Comme je l'ai dis auparavant, le Stream Deck a 8 boutons (12x12mm pour moi). Sur sa gauche, j'ai modélisé les trous pour insérer l'interrupteur 2-positions et la LED 3mm. J'ai mis le connecteur pour l'Arduino micro pro à l'arrière. J'ai choisis d'imprimer le boitier en noir et blanc pour que ce soit sobre.
Lien vers Thingiverse/Cults3D
Assembly / Assemblage
(EN)
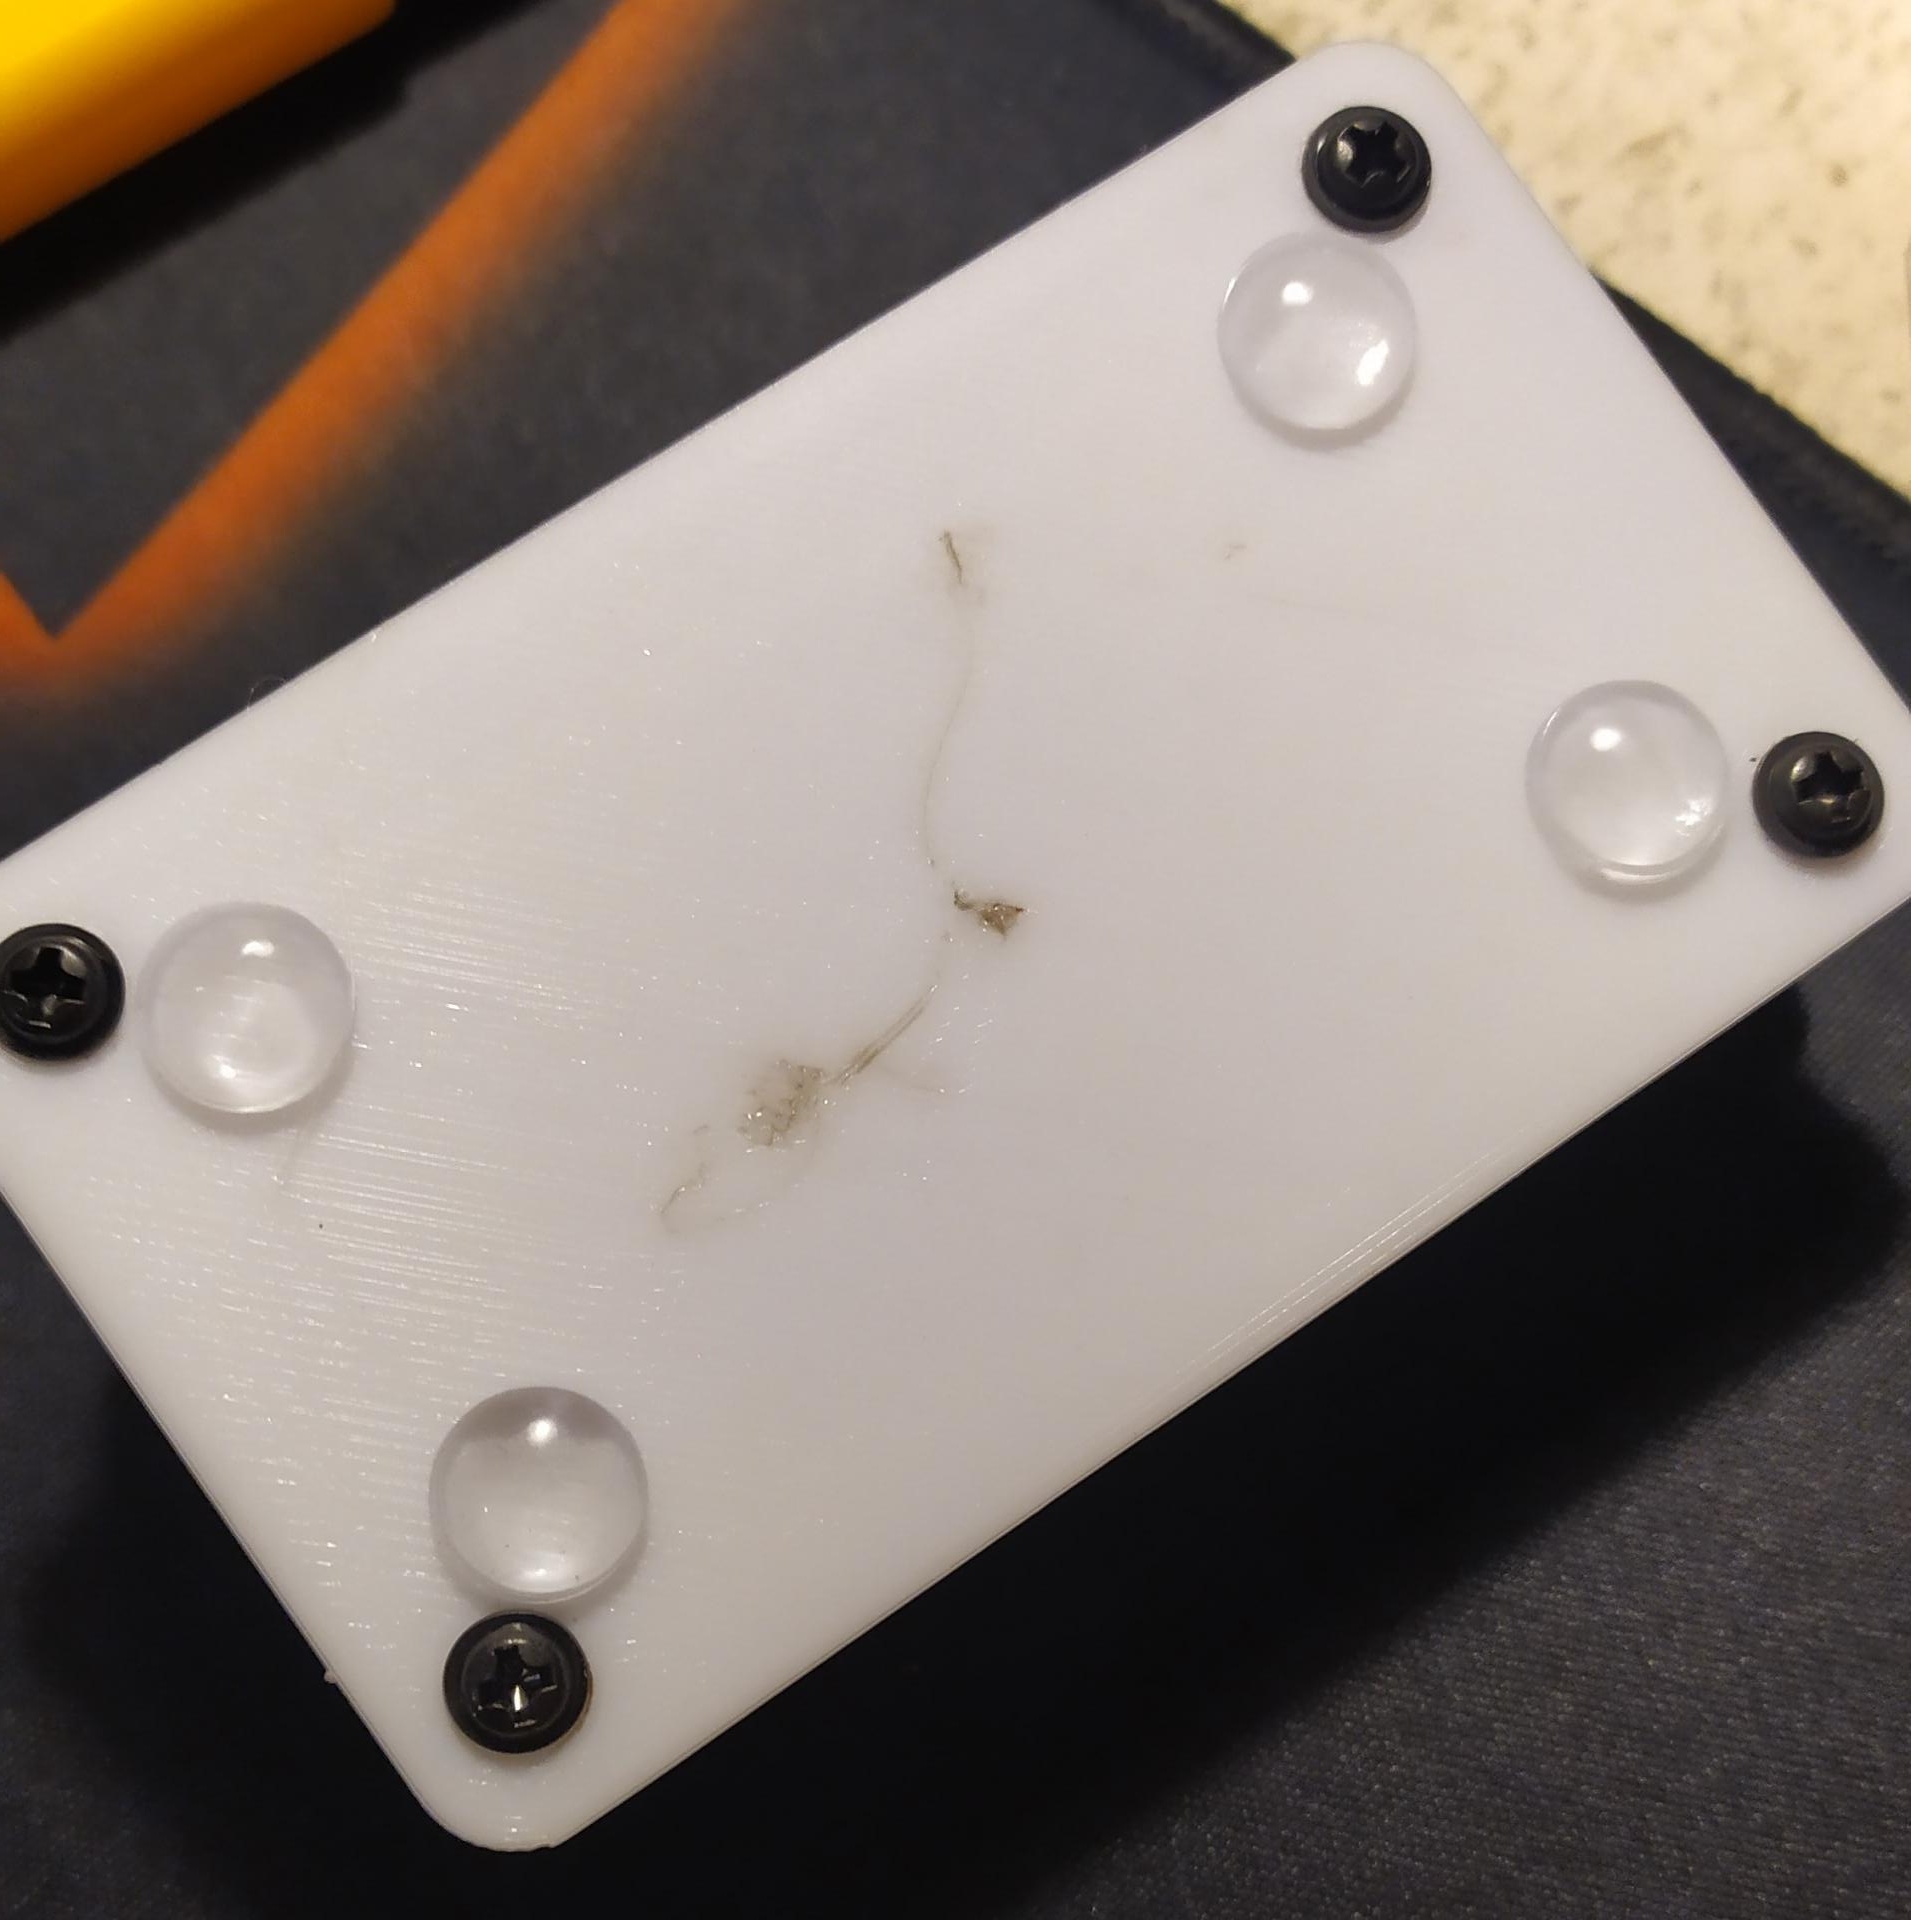
First, I encrusted the inserts in the upper part of the case using a soldering iron at 200°C. Then I installed the switch, the LED and the buttons with hot glue and soldered on each of the buttons the resistance and the necessary wires. I soldered the 5V together then all the wires to the corresponding pins on the Arduino. Finally, I put hot glue everywhere so that everything stays in place then I glued 4 small self-adhesive silicone pads on the lower part of the case. I ended up screwing the two parts of the case with M3 screws thanks to the inserts. My buttons have a cap, so I can put a small image that represents the sound with which it is associated.
(FR)
Premièrement, j'ai incrusté les inserts dans la parties supérieure du boitier en utilisant un fer à souder à 200°C. Puis, j'ai installé l'interrupteur, la LED ainsi que les boutons avec de la glue chaude et j'ai soudé chacun d'eux à une résistance et aux fils nécessaires. J'ai soudé les 5V ensemble et les fils aux broches correspondantes de l'Arduino. Finalement, J'ai mis de la glue chaude partout pour que tout reste en place et j'ai collé les 4 petits patins auto-collant en silicone sur la partie inférieure du boitier.Pour finir, j'ai visser les deux parties du boitier ensemble avec les vis M3 grâce aux inserts. Mes boutons possèdent des capuchons, je peux donc placer une petite image pour représenter le son associé à ce bouton.
Future improvements / Futures améliorations
(EN)
- Possibility of adding a USB C connector (remote from the Arduino), in order to be able to turn on/off the Stream Deck in a hardware way.
- Design and manufacture a printed circuit that contains all the necessary elements.
(FR)
- Possibilité d'ajouter un un connecteur USB C (déporté de l'Arduino), afin de pouvoir allumer/éteindre le Stream Deck de façon matérielle.
- Concevoir et fabriquer un circuit imprimé qui contient tous les élements nécessaires.
Last edited: Thu 17 august 2023
Comments
-

- 1. Martin On Mon 06 jan 2025
salut vous auriez une photo plus détaillé la partie ou il y a partie avec la platine d'essai et les boutons car je le refait mais avec un seul bouton pour commencer avec une carte Arduino Léonardo merci bonne soirée...-

- marc_guedonOn Thu 09 jan 2025
Bonjour, voici un schéma de câblage avec un seul bouton : https://prnt.sc/hay2PzEQpN3O. Si tu ne sais pas comment câbler sur un breadboard (platine d'essai), je peux te conseiller ce lien : http://www.lafabriquediy.com/tutoriel/breadboard-ou-plaque-a-bidouille-1-89/. Cordialement, Marc GUEDON
-

- 2. Martin On Mon 09 dec 2024
bonjour oui, ma question était comment et sur quelle application avez vous fait votre code et paramétrer le Stream deck ( quand vous avez fait vos stresse sur la platine d'essai ) et sur quel application avez crée votre boitier merci bonne journée-

- marc_guedonOn Mon 09 dec 2024
Bonjour, Pour le code, tu peux utiliser un simple éditeur de texte si tu veux, mais il te faudra l'IDE Arduino pour téléverser le code dans l'Arduino. Pour la modélisation 3D du boitier, j'ai utilisé Fusion 360, mais tu peux aussi utiliser OnShape. Cordialement, Marc GUEDON
-

- 3. Martin On Thu 05 dec 2024
Bonjour, je suis en Bac Pro Ciel et je réalise un projet (stream deck). J'ai trouvé votre site web grâce à mes recherches. Pourriez-vous m'indiquer sur quelle application vous avez créé votre schéma avec l'Arduino Leonardo, car cela ne fonctionne pas sur Tinkercad ? J'espère vous avoir donné toutes les informations nécessaires pour pouvoir me répondre.-

- marc_guedonOn Thu 05 dec 2024
Bonjour, Le logiciel que j'ai utilisé pour réaliser ce schéma de câblage est Fritzing : https://fritzing.org/. Bonne continuation pour ton projet, n'hésites pas à me recontacter si tu as besoin de plus amples informations. Cordialement, Marc GUEDON
Add a comment


